
Last updated November 17, 2026
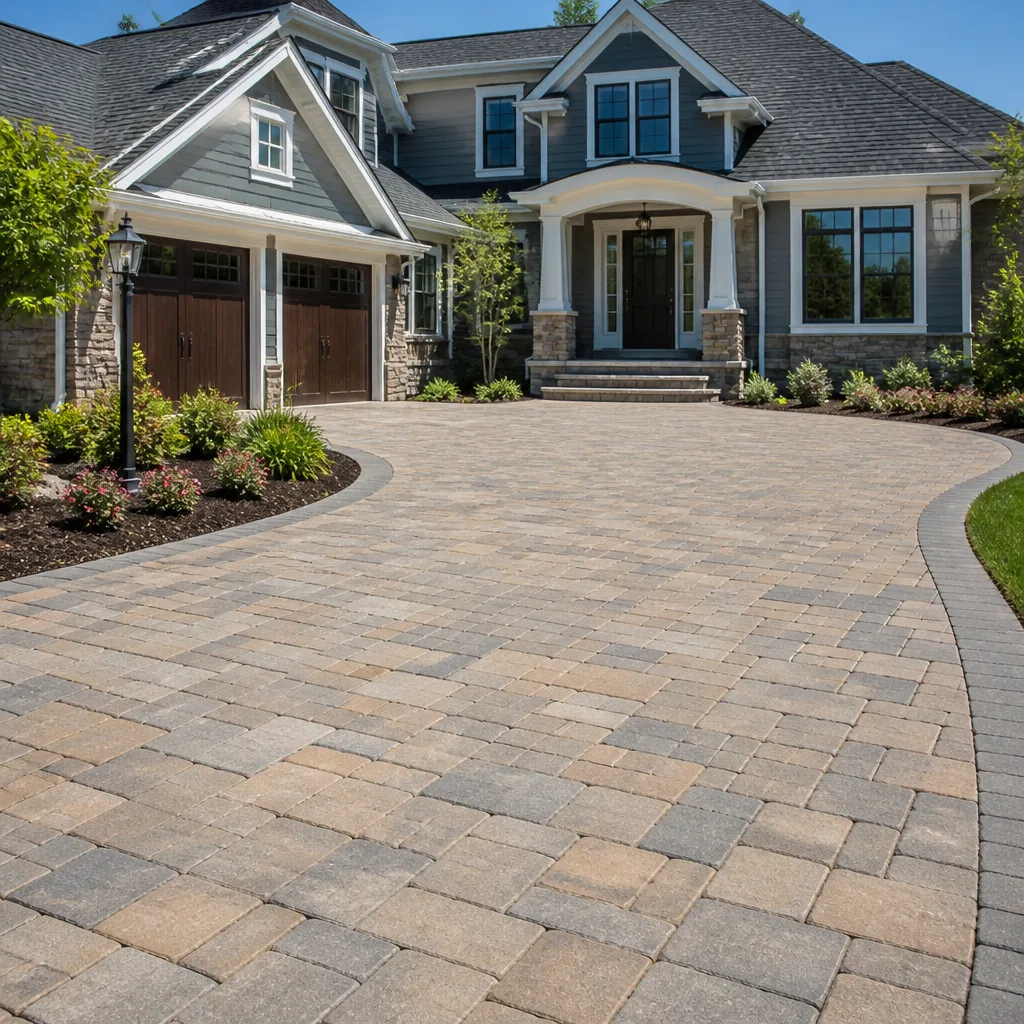 Driveway & pavers
 Kitchen remodeling
 Bathroom remodeling
 Home additions & ADU
 Roofing
 Windows & doors
 Fence
Free written scope consultation - allowances, timeline, and change-order rules on paper before a single trade is scheduled
DIY vs Professional Driveway & Pavers: What’s Safe to Do Yourself
You can absolutely lay pavers yourself. Thousands of homeowners do it every year. What you probably can’t replicate with a rented plate compactor and a weekend is the 6-inch properly graded compacted base that professional crews build – and without that, the paver pattern on top is just decoration on a countdown timer. In our experience across San Francisco, the paver jobs that fail aren’t the ones where homeowners tried to do too much. They’re the ones where homeowners DIY’d the wrong phase: base preparation, which is unglamorous, physically brutal, and the single variable that decides whether the whole project lasts 5 years or 25. This guide tells you exactly where the line is.
Quick Answer
Safe DIY tasks for a driveway or paver project include selecting materials, planning the pattern and layout, making cuts with a rented wet saw, and applying sealer once the surface is installed. Base excavation, grading, and compaction are not realistically DIY work in San Francisco – they require heavy equipment, correct soil knowledge for your specific neighborhood, and drainage judgment that most homeowners can’t self-teach on one job. Anything touching the public right-of-way, including curb cuts, is permitted work that can’t legally be DIY’d at all.
Styles & brands we work with
- Kitchen remodeling
- Bathroom remodeling
- Home additions & ADU
- Roofing
- Windows & doors
- Driveway & pavers
- Fence
Table of Contents
- Where the DIY line actually falls
- The safe DIY tasks: what you can genuinely handle
- The base phase: why this is the whole ballgame
- San Francisco soil, slope, and drainage by neighborhood
- The hidden cost math: when DIY stops saving money
- The San Francisco regulatory tripwire: curb cuts and the public right-of-way
- A step-by-step way to decide which path fits your lot
- Common mistakes to avoid
- When to call a professional
- Frequently asked questions
- The bottom line
Where the DIY Line Actually Falls
The DIY-versus-professional question almost always gets framed wrong. Homeowners ask “how much can I do myself?” when the better question is “which specific phases would I regret doing myself?” Those are different questions, and they have different answers.
For a driveway and paver project, the work splits cleanly into three tiers. The first tier is planning and materials – choosing paver style, color, and pattern, measuring the space, and ordering quantities. Almost all of that is homeowner-friendly. The second tier is installation of the surface layer – cuts, layout, and finishing. Skilled homeowners can do this on small flat patios and walkways, less confidently on driveways. The third tier is base and drainage work, which is where the physical and technical difficulty concentrates.
In San Francisco, the difficulty curve steepens because the geology and topography vary dramatically over short distances. A flat, sandy lot in the Outer Sunset and a sloped clay-heavy lot in Noe Valley are not the same project, and the base phase for each requires different equipment and different judgment. A San Francisco contractor who works these neighborhoods regularly already knows how each soil type behaves under load.
Here’s the practical split we’d give a friend:
- Realistically DIY: paver selection, pattern planning, layout mockups, cutting with a rented saw, sealing, minor joint sand replacement.
- DIY-friendly at small scale: patios and walkways under roughly 300 square feet on flat ground with existing stable subgrade.
- Not realistically DIY: driveway base excavation, subgrade grading, and compaction; any project where drainage has to be reworked; anything over about 400 square feet of pavers.
- Legally not DIY: curb cuts, sidewalk aprons, anything within the public right-of-way.
That last category is the one most homeowners don’t learn about until they’re already several weekends in. We’ll get to it in detail below.
The Safe DIY Tasks: What You Can Genuinely Handle
These are the phases where a motivated homeowner with reasonable tools and patience can produce work that doesn’t compromise the long-term durability of the driveway. Doing these yourself saves real money and gives you direct control over the parts of the project you’ll actually see every day.
1. Paver selection
Choosing pavers is a design decision as much as a construction one. You want to think about color against your home’s exterior, texture through wet San Francisco winters, and slip resistance on any slope. Belgard and similar manufacturers publish spec sheets on compressive strength and freeze-thaw rating, and it’s worth reading them so you’re not just picking by photo. This phase costs you nothing but careful comparison.
2. Pattern layout planning
Running bond, herringbone, basketweave, and ashlar patterns all have different material waste rates and different visual character. Herringbone, for example, wastes more material on cuts but looks richer on a larger driveway. Planning your pattern on paper – or with layout software – prevents the Saturday-morning panic of realizing you ordered the wrong quantity. This is pure planning work, and doing it yourself gives you a final product that matches your taste.
3. Cutting with a rented wet saw
Edge cuts, curves, and utility cutouts need a wet saw with a diamond blade. Rental yards in San Francisco stock these for around $60-$110 per day depending on blade size. Cutting is dusty, loud, and takes patience, but it’s mechanical: measure, mark, cut, dry-fit, adjust. Homeowners who do their own cuts routinely produce clean work. The key safety note is the blade guard – leave it on, use water, wear eye protection, and don’t rush the last inch of a cut.
4. Sealing
Sealing protects the pavers from stain, moisture, and San Francisco’s coastal fog-driven mildew pressure. Applying a penetrating sealer with a roller is straightforward. Time it for a dry two-to-three-day window (rare in the fog belt, so plan around it), and don’t over-apply – puddling leads to haze that’s a pain to remove.
If you handle these four phases yourself and hire the base work out, you can meaningfully reduce the total project cost while keeping the finished appearance entirely in your hands. For a fuller picture of what the professional side of the driveway project looks like, our Driveway & Pavers in San Francisco page covers materials, timelines, and construction sequence.
The Base Phase: Why This Is the Whole Ballgame
Everything above the base is decoration. Everything at the base is structure. A paver sits on a sand bedding layer, which sits on the compacted base, which sits on the subgrade soil. If any layer in that stack fails – if the base isn’t deep enough, isn’t properly graded, or isn’t compacted to spec – the surface pavers will shift, sink, heave, or rut no matter how well you set them.
Here’s the base sequence a professional crew runs on a San Francisco driveway:
- Excavate to depth. Typically 8-12 inches total for a residential driveway, depending on expected load and subgrade quality. This is often 6-10 cubic yards of soil and old material dug out by hand or machine.
- Evaluate and correct the subgrade. If the exposed soil is expansive clay – common in parts of Noe Valley, Bernal Heights, and the Inner Sunset – the subgrade itself needs treatment or replacement. Sandier soil in the Outer Sunset behaves very differently.
- Grade for drainage. Base slopes at roughly 1-2% away from the structure and toward drainage. On San Francisco’s many sloped lots, getting the pitch right is a judgment call, not a formula.
- Lay and compact in lifts. The aggregate base gets laid in layers, each 2-4 inches, with a plate compactor run over each lift before the next goes down. Compaction is depth-dependent – you can’t skip to the top layer.
- Set bedding sand and screed. A 1-inch sand layer, screeded flat and consistent, is the actual bed for the pavers. A screed rail setup is the difference between a flat surface and a wavy one.
- Lay, cut, and compact the pavers. Pavers go down, then get compacted again to seat them into the bedding.
- Sweep in polymeric joint sand and seal.
Steps 1 through 4 are where DIY attempts most commonly fail. The equipment alone is a hurdle – a proper plate compactor rented for the weekend is often under-powered for full-depth base compaction, and compaction has to happen over the entire footprint, in lifts, correctly. If you’re curious how professional crews build a driveway from raw subgrade up, that’s exactly what we do on every San Francisco driveway, and the base is the phase we never shortcut.
San Francisco Soil, Slope, and Drainage by Neighborhood
San Francisco isn’t one soil. It’s a patchwork that changes block by block, and the base design for a driveway in one neighborhood can be wrong for another 10 minutes away. This is the knowledge a San Francisco homeowner can’t easily source from a how-to video.
Outer Sunset and Outer Richmond: Sandy dune soils that drain well but can shift under load if not contained. Base depth matters more than base drainage here. Pavers on uncompacted sand in these neighborhoods settle into ripples instead of cracks.
Inner Sunset, Noe Valley, Bernal Heights: Expansive clay-heavy soils that swell when wet and shrink when dry. A driveway here needs deeper excavation and, in some cases, base reinforcement or a separation fabric. Pavers over improperly-handled clay will heave within a couple of seasons.
Pacific Heights, Russian Hill, Nob Hill: Steeply sloped lots where grade control, drainage design, and retaining the load are all intertwined. Driveways here frequently need retaining elements or step-down grading, and getting the drainage pitch right against a sloping lot is critical.
Sea Cliff, Marina, and other coastal zones: Fog-driven moisture and marine air pressure are hard on sealers and joint sand. These neighborhoods see faster joint sand loss and more mildew on unsealed pavers, so sealer choice and reseal intervals matter more here.
Mission, Potrero Hill, Dogpatch: Mixed fill soils – often historically filled land or disturbed subgrade – that need per-property evaluation before a driveway design can be trusted. No two houses on the same block are guaranteed to share the same base requirements.
Before any San Francisco homeowner decides to DIY a driveway base, this is the step to spend real time on: identify your soil type, understand how water moves across your lot, and decide whether the foundation under your future pavers is going to behave the way the base is designed for. If you don’t know your soil type, get a professional assessment instead of assuming.
The Hidden Cost Math: When DIY Stops Saving Money
The DIY-versus-professional cost question almost never gets answered honestly because most guides only compare material costs. The real comparison includes equipment rentals, disposal, mistakes, and the value of your own time. Here’s what a realistic San Francisco comparison looks like on a 400-square-foot driveway:
- Materials (pavers, base aggregate, bedding sand, joint sand, sealer): roughly $3,500-$6,500 depending on paver type. Similar whether you DIY or hire out.
- Equipment rental (plate compactor, wet saw, wheelbarrow, screed, hand tools): $400-$900 over multiple weekends. Rental yards around San Francisco charge by the day, and base compaction often spans more than one weekend.
- Disposal of excavated soil: $150-$450. Hauling 6-10 cubic yards through San Francisco traffic and unloading at a transfer station takes a full day and often a second rental truck.
- Do-over cost for a failed base: $3,000-$8,000. If the pavers fail within two years because the base wasn’t right, you pay to rip out, re-excavate, re-base, and reinstall. This is the most underestimated line item in DIY driveway projects.
- Your time: a professional crew does 400 square feet of base and install in 3-5 working days. A homeowner doing the same work carefully on weekends is usually looking at 3-5 weeks of Saturdays.
Add the pieces together and the DIY savings on a driveway project are often much smaller than the sticker difference between materials and a quote. Then factor in the very real chance of a callback within two years, and the “savings” evaporate. Upfront pricing on a professional quote – the one number you see is the number you pay – is genuinely easier to compare than the running total of an unfolding weekend project.
On small patios and walkways under 300 square feet, the math often still favors DIY. On driveways, and especially on driveways in San Francisco’s harder soil neighborhoods, it rarely does once the true costs come in.
The San Francisco Regulatory Tripwire: Curb Cuts and the Public Right-of-Way
Here’s the piece most DIY guides skip entirely: in San Francisco, any work that touches the public right-of-way is permitted work. That means curb cuts, sidewalk aprons, driveway approaches, and any modification to the curb or sidewalk requires a permit from San Francisco Public Works, and the work has to be done to city standards. You cannot legally cut a curb or replace a sidewalk apron yourself, no matter how capable you are.
This isn’t fine print. It’s the phase that often triggers the whole conversation. If your driveway plan involves widening the approach, adding a curb cut, or reworking the sidewalk apron to line up with new pavers, you’re into permitted territory the moment the work crosses the property line. A homeowner who buys pavers and starts the weekend before permits are pulled is setting up for an order to stop work and a mandatory restoration.
Beyond the public right-of-way, San Francisco driveways also fall under general building and grading permit requirements when excavation exceeds depth thresholds or when the work changes drainage patterns on a sloped lot. On a sloped Noe Valley or Pacific Heights property, this is more common than you’d think.
The practical rule: if the work touches the sidewalk, the curb, or the street, it’s a professional project. Everything else is negotiable between DIY and professional based on your skill, time, and soil. If your plan has a curb cut in it, that decision is already made for you.
A Step-by-Step Way to Decide Which Path Fits Your Lot
A simple decision process for San Francisco homeowners trying to decide where to draw the line. Run through these in order:
- Determine whether the project touches the public right-of-way. If it involves a curb cut, sidewalk apron, or driveway approach, it’s a professional project. Full stop.
- Identify your soil type. Clay, sand, or mixed fill determines base depth, compaction method, and whether the base needs treatment. If you don’t know, a professional assessment should come before any DIY decision.
- Evaluate slope and drainage. Flat lots with well-draining soil are DIY-friendly; sloped lots with poor drainage are not. On a slope, water management is the whole problem.
- Measure the project size. Under roughly 300 square feet of pavers on a flat, well-draining site is realistic DIY scope. Over 400 square feet, the base phase is an equipment-and-experience problem.
- Check your schedule honestly. A driveway base phase spans multiple consecutive days. If you can’t commit that block of time, the phases will end up separated by weeks and your base will sit exposed to weather.
- Run the hidden-cost comparison. Rentals, disposal, do-over risk, and your own time are part of the DIY total. Compare against a professional quote on an apples-to-apples basis.
- Decide phase by phase, not all-or-nothing. Many homeowners handle selection, layout, cuts, and sealing themselves, and hire out base excavation, grading, compaction, and any permitted work. This hybrid path often delivers the best outcome.
The hybrid path is underrated. It gets you the finished look you want, keeps the parts you’ll actually enjoy, and puts the foundation work into the hands of people who build it every week. For a sense of what a full build looks like when it’s done together as one project from start to finish, we walk through it from foundation to finish line on our Groundwork Construction Co. of San Francisco home page.
Common Mistakes to Avoid
- Under-excavating to save a weekend. A 4-inch base instead of the required 8 inches will fail in 2-3 San Francisco winters on any driveway. The paver pattern will look fine until the first heavy rain, then the ruts arrive.
- Renting an underpowered compactor. A plate compactor sized for patio pavers doesn’t compact a driveway base properly. Compaction is depth-limited – you feel it on the surface but the base below stays loose.
- Ignoring your soil type. Laying a base on Noe Valley clay as if it were Outer Sunset sand is the most common failure we see on DIY driveways in San Francisco. The soil under your lot decides the base design.
- Skipping drainage for a “quick” install. In a city with coastal fog and winter rain like ours, water management is not optional. Pavers without proper slope, base drainage, and joint sand sealing degrade fast.
- Cutting curbs or apron work without permits. This is the mistake with the steepest recovery cost in San Francisco. Public Works can require removal and restoration, and doing it without a permit is a straight financial loss.
- Buying pavers before measuring and planning pattern waste. Herringbone patterns waste 8-15% of material in cuts, and running bond wastes less. Ordering quantities without that accounted for leads to material delays mid-project.
- Sealing too soon. Sealer applied before pavers and joint sand have fully dried and settled will trap moisture. In foggy San Francisco neighborhoods, drying time is longer than the sealer instructions assume.
When to Call a Professional
Call a professional when any of the following applies: your project involves a curb cut, sidewalk apron, or anything in the public right-of-way; your lot is on a slope or has clay-heavy or mixed-fill soil; your project is a full driveway rather than a small patio; your base phase is going to require significant excavation and soil disposal; or your timeline requires the work to wrap in days rather than weeks. Most of those conditions apply to a large share of San Francisco driveways, which is why driveway paver projects here trend toward professional installation.
Groundwork Construction Co. of San Francisco offers free estimates in San Francisco – call (866) 320-2646. Every project is covered by our 730-Day Done Right Promise, we provide upfront pricing so the number you see is the number you pay, and we pull the permits and pass the inspections on permitted work.
If your project is part of a broader exterior plan – a new fence to match the paver layout, an addition that changes the driveway approach – the same crew can handle the full scope. Our Fence Installation in San Francisco page covers fence work; our Home Additions & ADU in San Francisco page covers additions and detached units. Both are common pairings with a driveway rebuild.
Frequently Asked Questions
You can, and many homeowners do, but only on smaller projects (patios, walkways, small driveways) on flat, well-draining lots, and only if you’re willing to handle or hire out the base phase correctly. Any project involving a curb cut, sidewalk apron, or public right-of-way work cannot legally be DIY’d in San Francisco. Call (866) 320-2646 for a free estimate if you’d like a professional walkthrough of your specific lot first.
Paver selection, pattern and layout planning, cutting with a rented wet saw, and final sealing are all realistically DIY-friendly. Base excavation, grading, and compaction are the phases we’d steer a homeowner away from, because they require heavy equipment and correct soil judgment that most people can’t self-teach on a single job. Call (866) 320-2646 if you’d like us to handle just the base phase and let you finish the surface.
Ripping out and redoing a failed 400-square-foot paver driveway typically runs $3,000-$8,000 in the San Francisco market, because the fix means re-excavating, re-basing, and reinstalling everything above the base. That’s usually more than the original DIY savings on the same project. Call (866) 320-2646 for a free assessment before a failing base turns into a full replacement.
Yes, if the project involves a curb cut, sidewalk apron, driveway approach, or any work in the public right-of-way – that’s permitted work through San Francisco Public Works. Larger excavation and grade changes can also require permits depending on depth and slope. We pull permits and pass inspections on every permitted San Francisco project we build. Call (866) 320-2646 with your address and we’ll confirm what your project needs.
For a typical residential driveway, an 8-12 inch excavated base is standard once you account for the aggregate, bedding sand, and paver thickness. Clay-heavy neighborhoods like Noe Valley and Bernal Heights often need deeper base or base treatment, while sandier outer Sunset lots need careful compaction more than extra depth. Call (866) 320-2646 for a site-specific base recommendation.
A 400-square-foot driveway typically takes 3-5 working days for a professional crew from excavation through final sealing, assuming permits are in hand and weather cooperates. The base phase alone usually spans 2-3 of those days in San Francisco’s variable soil conditions. Call (866) 320-2646 to schedule a free estimate and timeline review.
The Bottom Line
You can do a lot of a driveway paver project yourself, especially on smaller installations. What you can’t do effectively is the base – and the base is what separates a driveway that lasts 25 years from one that fails in 5. In San Francisco specifically, the base work interacts with wildly variable soil by neighborhood, with steep lot drainage, and with a regulatory wall around the public right-of-way that shuts down DIY on curb cuts and sidewalk aprons entirely. Run the phase-by-phase decision honestly: if your project is small, flat, well-draining, and stays well clear of the curb, DIY is a real option. If it isn’t, the cost of a failed base dwarfs the savings. Either way, a written estimate and a real conversation about your specific lot beats guessing.
Get a Free Estimate on Your San Francisco Driveway or Paver Project
If you’re weighing DIY against professional installation and want a straight answer on which path makes sense for your lot, call Groundwork Construction Co. of San Francisco at (866) 320-2646. We’ll walk your property, look at the soil and slope, and give you a written upfront quote with the full scope itemized – base, pavers, drainage, permits if any. Every project comes covered by our 730-Day Done Right Promise, with 0% financing for 18 months available and $1,000 off projects over $10,000. Our technicians have up to 12 years of experience and arrive background-checked in uniform. The estimate is free, and the call gets answered by a live person any hour of the day.
Written by the team at Groundwork Construction Co. of San Francisco.
See the difference
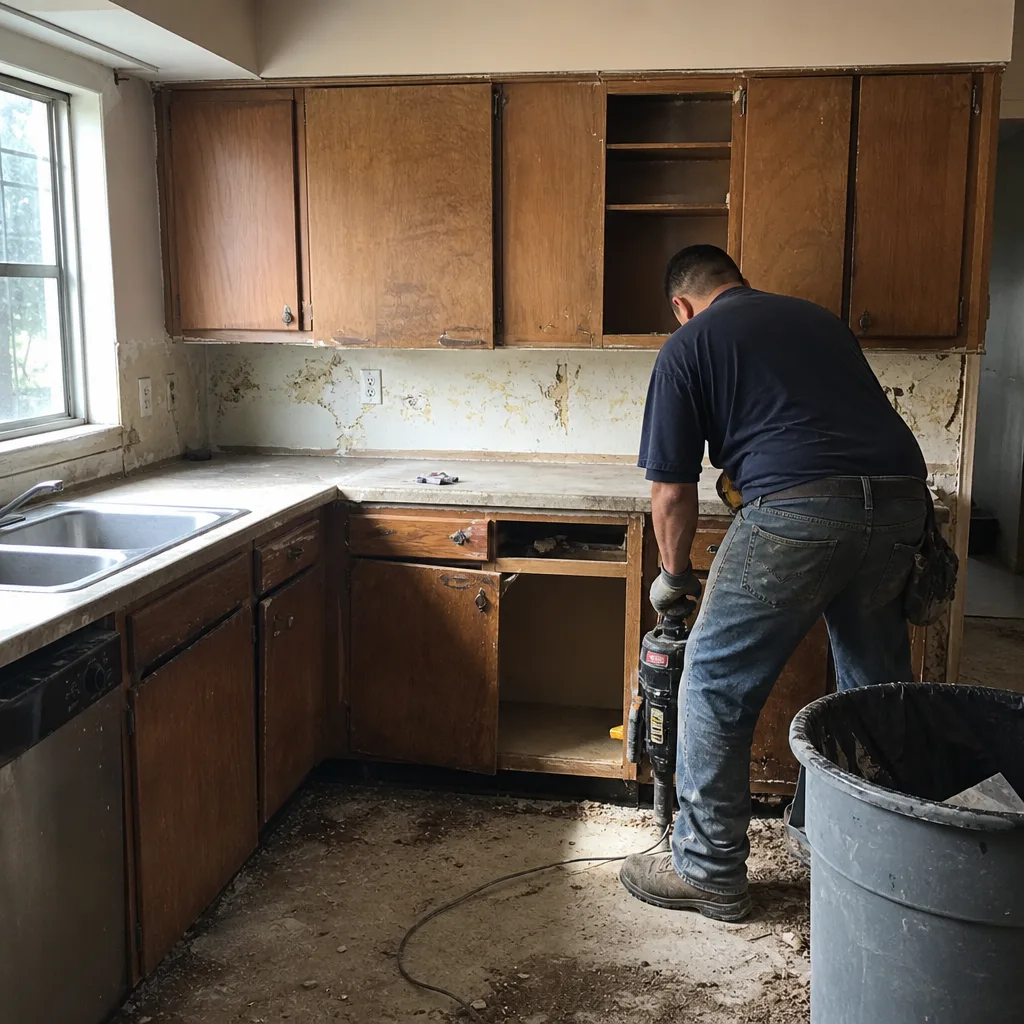 Before
 After
 Before
 After
 Before
 After