
Last updated November 17, 2026
 Bathroom remodeling
 Kitchen remodeling
 Home additions & ADU
 Roofing
 Windows & doors
 Driveway & pavers
 Fence
Free written scope consultation - allowances, timeline, and change-order rules on paper before a single trade is scheduled
Bathroom Remodeling Maintenance Schedule: What to Do and When
Most bathroom remodels show their first failures not during construction, but between months 6 and 18. That’s when grout begins to shrink away from tile edges, caulk joints separate at shower corners, and exhaust fans quietly clog with dust until they’re moving almost no air. By then, the contractor is long gone. What separates a remodel that holds up for 25 years from one that needs rework in year three usually isn’t the tile setter’s skill. It’s what the homeowner did, or didn’t do, in the first 24 months. In San Francisco, where marine air and closed-up winter homes push indoor humidity higher than most people realize, that window matters more than it does in drier climates. This guide gives you a real maintenance calendar: month by month for the first two years, then annually after that. It tells you which materials need the shortest re-sealing cycles, which caulk joints fail first and how to spot early failure before it becomes water damage, and honestly, what’s covered under a workmanship guarantee versus what’s on you. Print it. Tape it inside a vanity door. A bathroom is a wet, humid, frequently used room, and it rewards a little attention.
Quick Answer
After a bathroom remodel, plan on re-caulking all wet-area joints at month 6 – 12 and again yearly, re-sealing natural stone every 12 months (porcelain and cement tile less often), cleaning your exhaust fan every 6 months, and inspecting grout lines and transitions every quarter. The first 24 months are the highest-risk period because new materials are still settling and shrinking. Most of these tasks take under an hour each. Skipping them is what turns a $40 tube of caulk into a $4,000 repair.
Styles & brands we work with
- Kitchen remodeling
- Bathroom remodeling
- Home additions & ADU
- Roofing
- Windows & doors
- Driveway & pavers
- Fence
Table of Contents
- Why the First 24 Months Decide Everything
- Match the Maintenance Cycle to the Material You Installed
- The Month-by-Month Calendar: Months 1 Through 12
- Months 13 Through 24: The Correction Window
- How to Inspect Caulk Joints: The Spots That Fail First
- Exhaust Fans and San Francisco Humidity
- What the 730-Day Done Right Promise Covers vs. Routine Maintenance
- Your Printable Seasonal Checklist
Why the First 24 Months Decide Everything
Materials move. That’s not a defect – it’s chemistry and physics. Thinset cures, grout shrinks slightly as it dries, caulk flexes with temperature swings, and wood vanity tops or framing settle into their final position. In the first 6 to 18 months after a remodel, every one of these materials reaches its “resting state,” and that’s exactly when small gaps open up. Grout that looked flush at the final walkthrough can develop hairline cracks at inside corners. Caulk that sealed perfectly at move-in can pull back a millimeter where the shower wall meets the floor pan.
Those gaps are small. The problem is what they let in. A pinhole gap at a shower corner lets water wick behind tile, and behind tile is backer board, framing, and eventually the ceiling below. We’ve seen a San Francisco bathroom on a hillside property near Twin Peaks where a 2mm caulk separation went unnoticed for two years and rotted a section of subfloor. The caulk was a 15-minute fix. The subfloor wasn’t.
The 24-month window is also when a reputable contractor’s workmanship guarantee is still active. That means problems caught early are far more likely to be fixed at no cost to you. Once you’re past that window, you’re paying.
One more local factor: San Francisco’s housing stock is old. A bathroom in a 1920s Inner Sunset building has been through a hundred winters of marine fog, and the wall assemblies behind your new tile are original in most remodels. They’re fine, but they’re sensitive to any moisture that bypasses your new waterproofing. Small maintenance now protects a very long-lived structure.
Match the Maintenance Cycle to the Material You Installed
Not all tile is the same, and one-size maintenance advice is where most guides go wrong. How often you re-seal depends on the porosity of the surface, not on the color or the brand. Here’s what we tell homeowners in San Francisco after a bath remodel, matched to what was actually installed.
- Natural stone (marble, travertine, limestone): Re-seal every 12 months, minimum. Marble in a steam shower may need it every 9 months because of continuous moisture cycling. Stone is porous; sealing is the only thing standing between it and staining from soap scum, shampoo, or hard water.
- Porcelain and glazed ceramic: These are fully vitrified and don’t need sealing, but the grout between them does. Grout is porous no matter what tile you choose. Seal the grout lines every 12 – 18 months. Use a penetrating sealer, not a film-forming one.
- Cement tile (the kind with the matte, slightly wavy surface): This is the most maintenance-intensive option, and the one where homeowners get surprised. Cement tile is porous by design. Seal it every 6 – 12 months, and don’t use an acidic cleaner, ever, because it eats the sealer and the cement.
- Grout color and type: If your remodel used a cement-based grout (most do), it needs occasional sealing. If you upgraded to an epoxy or urethane grout, it needs far less.
- Glass and stone mosaics in the shower floor: Lots of grout. More grout lines mean faster wear. Check the shower floor grout every 3 months and re-seal annually.
Write down what you installed. If you don’t know what was used, ask – any reputable contractor documents it. The Groundwork Construction Co. of San Francisco home page walks through the material partners we work with, from Kohler and Cambria to the tile suppliers we specify. Knowing exactly what’s on your floor and walls is the first step to a maintenance schedule that isn’t guessed.
The Month-by-Month Calendar: Months 1 Through 12
Here’s the first year, as a construction phase in its own right. This is the period when the materials are still moving, so the tasks are more frequent and more specific than the “annual check” advice you’ll find elsewhere.
Month 1: Let the Sealant Cure, Then Do Nothing
Fresh grout and fresh caulk need to fully cure before you put them to real use. In a bathroom that means no scrubbing, minimal water exposure at the joints, and no aggressive cleaners for the first 30 days. Give the room a few extra bath-fan run cycles.
Month 3: First Full Inspection
By month 3, most installation-related settling shows up. Walk the room with a light and a close look at the shower floor perimeter, the tub-to-wall transition, and the toilet base. Note anything – don’t fix it yet. You want a baseline.
Month 6: First Re-Caulk and Fan Deep-Clean
- Remove the old caulk in the shower enclosure at all inside corners, the wall-to-floor joint, and the wall-to-tub or wall-to-pan joint.
- Clean the joint, dry it completely, and apply a fresh bead of 100% silicone caulk rated for wet areas.
- Pull the exhaust fan cover, vacuum the blades, and wipe the housing.
- Re-seal any natural stone surfaces.
- Check the toilet base and vanity-to-wall seam.
If you have an old San Francisco home where the bathroom sits over a finished room below, also glance at the ceiling underneath. Any staining is a red flag worth a call.
Month 9: Grout and Drain Check
Check grout lines in the shower floor for missing sections, especially around the drain flange. Clear the drain of hair and check that the shower pan drains without pooling. Standing water at any spot is a call.
Month 12: Full Annual Maintenance Day
This is your first full annual reset. Re-caulk wet joints again, re-seal stone, deep-clean the fan, check every grout joint, and inspect all the plumbing fixtures for drips. This is also a good time to check the supply lines under the sink and test the shut-off valves by opening and closing them once.
Months 13 Through 24: The Correction Window
Months 13 to 24 still fall inside a two-year workmanship window like our 730-Day Done Right Promise, and that’s not accidental. Materials usually have finished moving by month 12, so anything that goes wrong in year two is more likely a workmanship issue than a settling issue. That’s your window to catch it while someone else still owns the repair.
What to Check Every Quarter in Year Two
- Re-inspect the shower floor grout line for new cracks or missing pieces.
- Check that the shower pan has no flex or “soft spot” – step on it near the corners and feel for movement.
- Look at the ceiling under the bathroom for discoloration.
- Run water down the floor drain to confirm the trap still seals (no sewer smell coming back).
- Check the fan airflow again – if it’s noticeably weaker than at month 6, the fan is clogged or losing efficiency.
- Inspect the vanity for water damage at the top edge, and pull out the base cabinet drawers to check under the sink for slow drips. Slow leaks where the supply lines connect are the most common thing we see missed.
- Look at the toilet bowl for wobble – if it rocks at all, the flange or wax ring may have settled.
What to Do With Your Findings
Anything that’s a workmanship issue – a grout joint that was never properly packed, a caulk line that separated prematurely, a fixture installed loose – goes to the contractor. Anything that’s cosmetic wear – scuffs, discoloration from cleaning products, a dulled sealer – is routine maintenance. The line matters, and it’s worth pulling out your contract and reading the warranty language before you call. Reputable contractors welcome these conversations. In San Francisco we’ve had homeowners call us two years post-remodel with a short list, we fixed what was ours, and the second maintenance cycle went smoother than the first.
How to Inspect Caulk Joints: The Spots That Fail First
The order in which caulk joints fail is not random. Water, gravity, and movement concentrate at specific spots, and if you know them, you can catch a failure before it becomes visible water damage. Here’s the inspection sequence we use.
The Five Spots to Check
- Inside corners of the shower where two walls meet. These are always under tension because walls move independently, and the plane changes are where water collects. A small line of dark discoloration at the bottom of the corner is the first sign.
- The wall-to-pan or wall-to-tub joint (the perimeter). This is the single most failure-prone joint in any bathroom. Water pools here by design, and the joint is under constant flex. Milky or “cloudy” appearance in the silicone is early failure. So is a visible gap you can slip a fingernail into.
- The shower floor drain flange. The joint where tile meets the drain fitting. Caulk here gets cut by the metal edge over time. A visible ring of separation, or a dark line, is your cue.
- The faucet and shower valve trim plate. Water gets behind the trim plate and the caulk around it slowly peels. If the trim plate pulls away from the wall at the top – even a millimeter – water is getting in.
- The vanity backsplash-to-wall joint and the toilet base. These are not in direct water, but they’re in the highest-splash and humidity zone, and they’re the easiest to forget.
Early Failure vs. Cosmetic Cracking
Here’s the difference, and it matters. Cosmetic cracking is a thin hairline that appears on the surface of the caulk, doesn’t go all the way through, and doesn’t pull away from the wall or the tile edge. You can clean it and wait. Early failure is any spot where the caulk has (a) pulled back from the substrate, (b) turned cloudy or milky along the joint, (c) grown dark spotting that doesn’t scrub away, or (d) feels soft and gummy when you press it. Early failure needs re-caulking. Not “next weekend.” This weekend.
A good test: press the joint along its length. If it gives, or if the edge separates at the wall, that’s a failed joint regardless of how it looks. Caulk should be firm and bound on both sides.
The Re-Caulk Procedure
We cover this in detail in the month-6 section above, but the summary: remove all old caulk (don’t caulk over old), dry the joint, and use a 100% silicone. Never caulk over a wet joint. In San Francisco, where fog and marine layer keep indoor humidity high, add a day of extra drying time before re-caulking a shower.
Exhaust Fans and San Francisco Humidity
Exhaust fans are the single most overlooked component of bathroom maintenance, and in San Francisco they’re also the most important. The city’s typical humidity runs higher than most of the Bay Area because of the marine layer, and if a bathroom doesn’t vent that moisture, condensation forms on cold surfaces and gets behind the finish materials.
The fan needs to move roughly 50 – 110 CFM (cubic feet per minute) depending on room size, and it only does that when the blades and grille are clean. A fan that’s been running for 18 months with carpet-like dust on the blades may be moving half of its rated airflow. Most fans should clean every six months.
How to Verify Your Fan Is Doing Its Job
- Run the fan for 5 minutes with the shower off.
- Hold a single square of toilet paper up to the grille. It should stick.
- Turn on the shower and run the fan for 10 minutes.
- Check the walls over the shower for condensation. If the mirror fogs, the fan is failing.
- Check the ceiling for dampness or peeling paint.
If the fan fails, don’t ignore it. A running fan that’s half-starved of airflow causes more problems than a fan that’s clearly broken, because you think it’s doing its job when it isn’t. Have it serviced or replaced. This is a genuine safety and structural concern – moisture in the structure is what rots framing and breeds mold.
Extra Defense in a San Francisco Home
A few habits help. Run the fan for 20 minutes after a shower, not 5. Leave the bathroom door cracked open when the fan runs so air can flow. In winter, run the fan during any cooking or drying to cycle air. If your home was built before 1970, check that the fan exhausts to the outside, not into the attic, because some old San Francisco homes vent into the attic cavity. That’s not a maintenance task, it’s a repair, and it needs a professional.
What the 730-Day Done Right Promise Covers vs. Routine Maintenance
This is the part where most homeowners get confused, and we’d rather be honest than vague. What’s covered under a workmanship guarantee is defective installation. What’s not covered is the wear your bathroom does to itself over time – and knowing which is which means you’ll ask for the right thing when you call.
What’s Covered
- Grout that cracks because it wasn’t packed correctly at installation.
- Caulk that fails prematurely because the joint wasn’t prepped or was applied over a wet surface.
- Tile that lifts or sounds hollow when you tap it, indicating a thinset failure.
- Fixtures installed loose, reversed, or leaking because of the installation.
- Waterproofing that fails because of a construction error.
- Plumbing connections that drip where they were made.
What’s Not Covered (and Here’s the Honest Part)
- Caulk that’s simply reached the end of its normal life. Re-caulking every 12 months is maintenance.
- Sealer that’s worn off natural stone. That’s routine.
- Grout that’s discolored from body oils, cleaning products, or hard water. That’s cleaning, not failure.
- Damage from a clogged exhaust fan. Cleaning the fan is on you.
- Drain clogs, soap scum, mildew on the surface, and stains.
- Damage from a plumbing failure above your bathroom, or from a toilet overflowing from a blockage.
- Wear from cleaning products or acidic cleaners on cement tile or natural stone.
- Fading or discoloration from sunlight through a window.
If your contractor won’t draw this line in writing, that’s a sign. Our 730-Day Done Right Promise exists because we intend to stand behind what we build, and it works fine alongside honest maintenance. The Home Additions & ADU in San Francisco page shows the same posture at the structural level, and it’s the same principle. From foundation to finish line, the work is backed in writing.
Your Printable Seasonal Checklist
The best maintenance schedule is the one tailored to the work that was actually done. So the checklist below is a template you fill in. Print it or screenshot it. Each task ties to a specific material and location in your bathroom, not generic “check the plumbing” filler.
Fill It In
| Task | Frequency | Your Material/Distance |
|---|---|---|
| Re-caulk shower inside corners | Every 6 – 12 months | _____ (note location) |
| Re-caulk wall-to-pan/tub perimeter | Every 12 months | _____ |
| Re-seal natural stone | Every 9 – 12 months | _____ |
| Seal grout lines | Every 12 – 18 months | _____ |
| Clean exhaust fan | Every 6 months | _____ (note model) |
| Verify fan airflow | Every 3 months | _____ |
| Inspect toilet base for wobble | Every 6 months | _____ |
| Check under-sink supply lines | Every 6 months | _____ |
| Inspect ceiling below bathroom | Every 6 months | _____ |
| Deep-clean shower drain | Every 3 months | _____ |
The Seasonal Version
Spring: Inspect for any winter damage. Check the exhaust fan, re-seal stone, and give grout a full once-over.
Summer: Deep-clean everything (drain, fan, shower floor grout). Re-caulk the shower corners.
Fall: Re-check every caulk joint. Reset the annual seal. Confirm no new gaps appeared at transitions.
Winter: Light inspection only. Skip heavy cleaning, but check for condensation and make sure the fan is running well throughout the wet season.
If you have a second bathroom, or you installed a new vanity and shower in a home addition, run the same list against both. The Driveway & Pavers in San Francisco page shows the same maintenance philosophy on the exterior: match the maintenance to the material and the climate, and it lasts longer.
Common Mistakes to Avoid
- Caulking over old caulk. It looks fixed for a few months, then fails harder. The old bead has to come out completely, which is why this job takes an hour, not ten minutes.
- Sealing wet grout. If you seal grout that hasn’t fully dried (wait at least 72 hours after installation and after any deep cleaning), you trap moisture. Always check the sealer manufacturer’s drying spec. In a San Francisco bathroom, add an extra day.
- Using the wrong cleaner. Acidic cleaners damage sealer, natural stone, and cement tile. Use a pH-neutral cleaner. This is the number-one cause of “my stone looks dull” calls we get from San Francisco homeowners.
- Ignoring the exhaust fan. A clogged fan is invisible. A fan that’s running but not moving air is a moisture problem waiting to happen. Clean it, and check it with the toilet paper test.
- Skipping the under-sink check. Slow leaks at supply connections are common and silent. Pull the drawers out once or twice a year and look.
- Not saving your material list. If you don’t know what was installed (stone vs. porcelain, what grout, what sealer), you can’t match the maintenance. Save the spec sheet from the remodel.
- Waiting for “clearly broken” before calling. A 1mm caulk gap is not a cosmetic issue. Caught early, it’s a $30 fix. Caught late, it can be $3,000.
See the difference
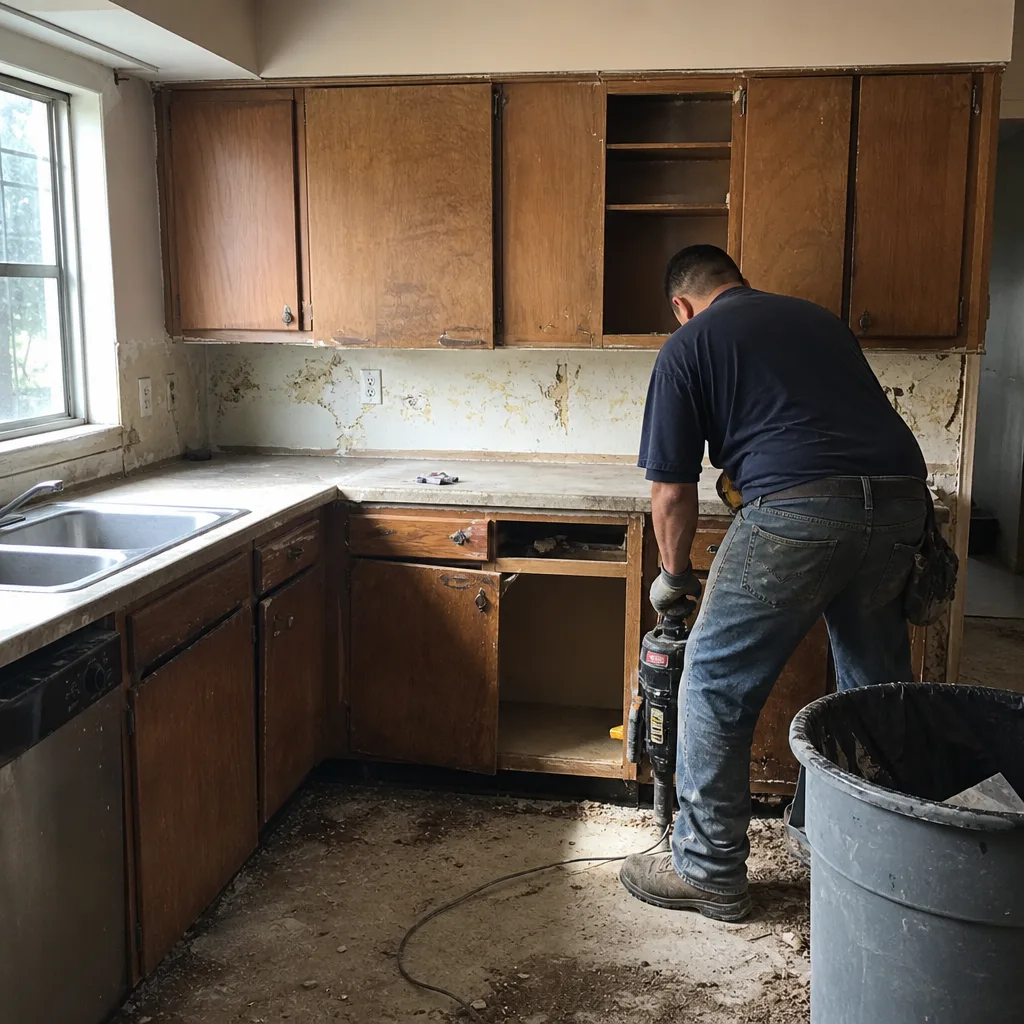 Before
 After
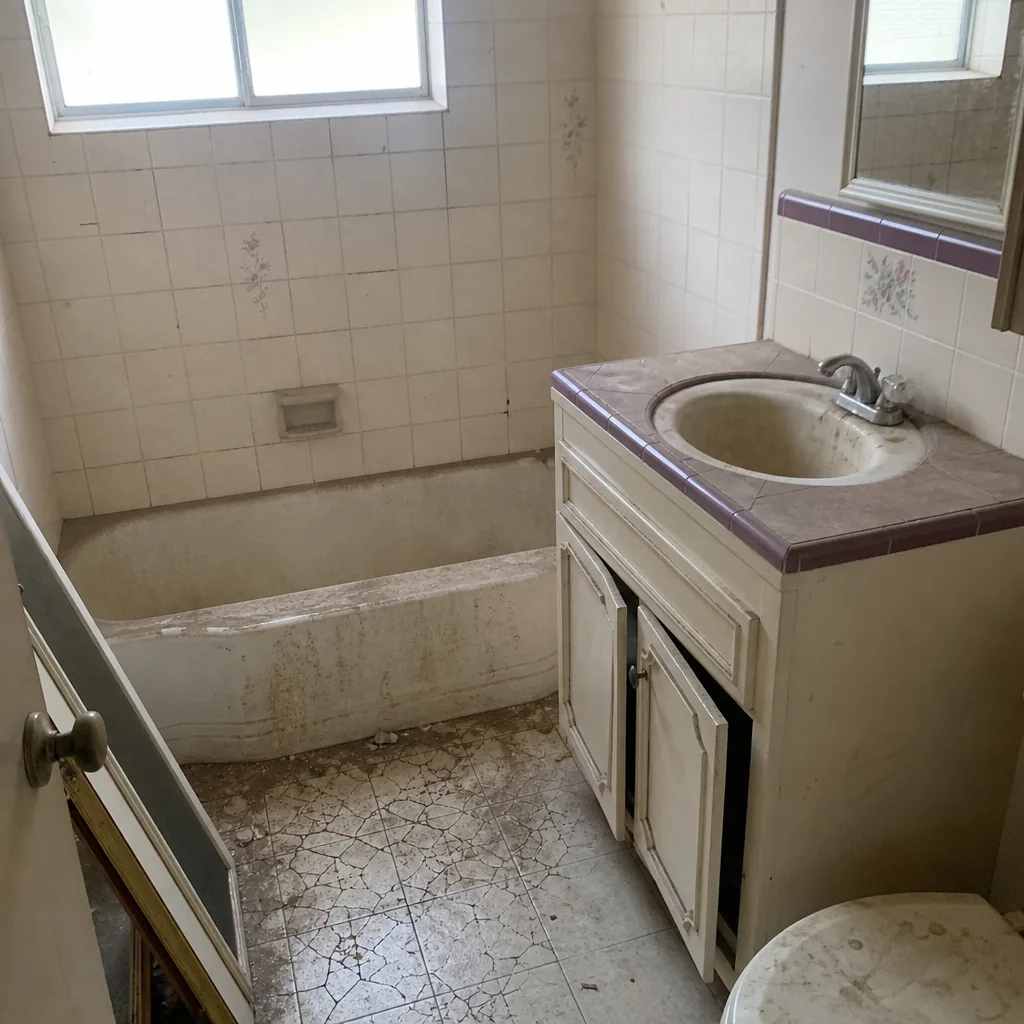 Before
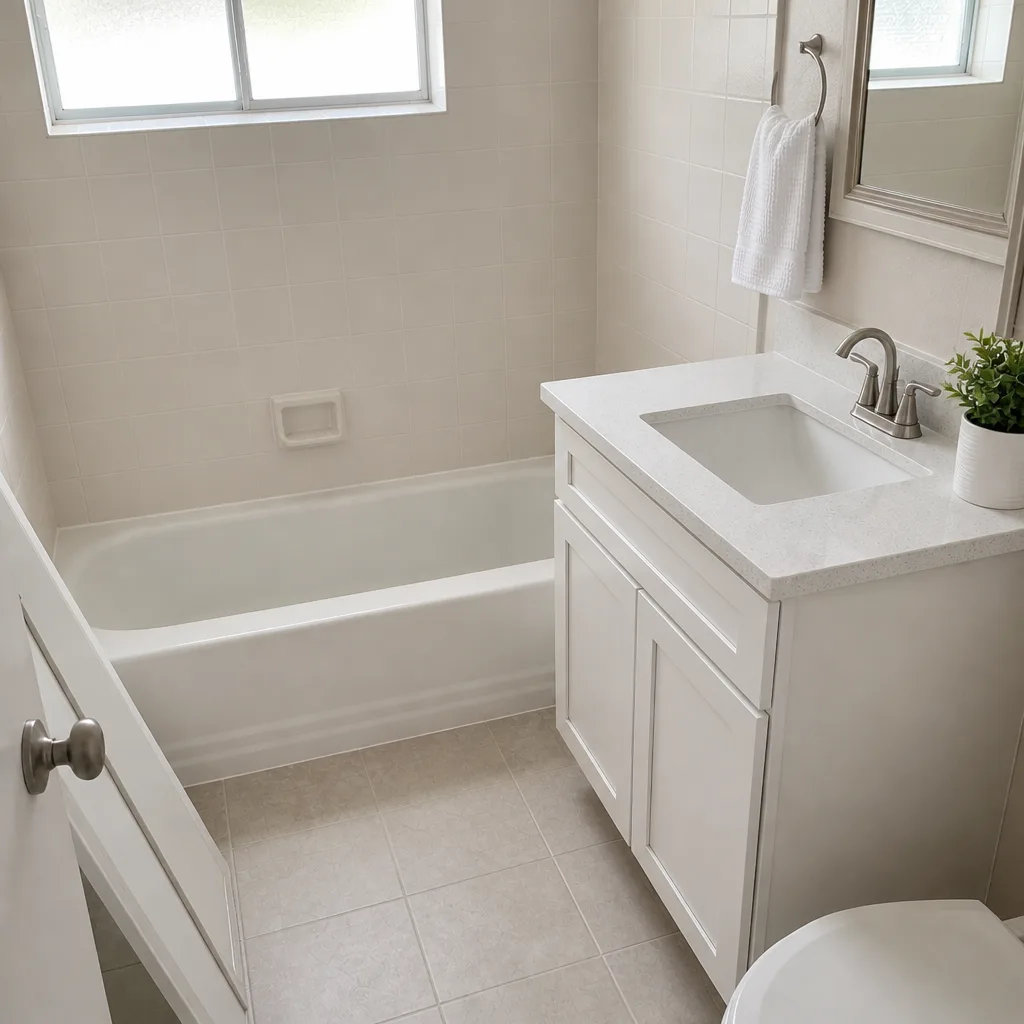 After
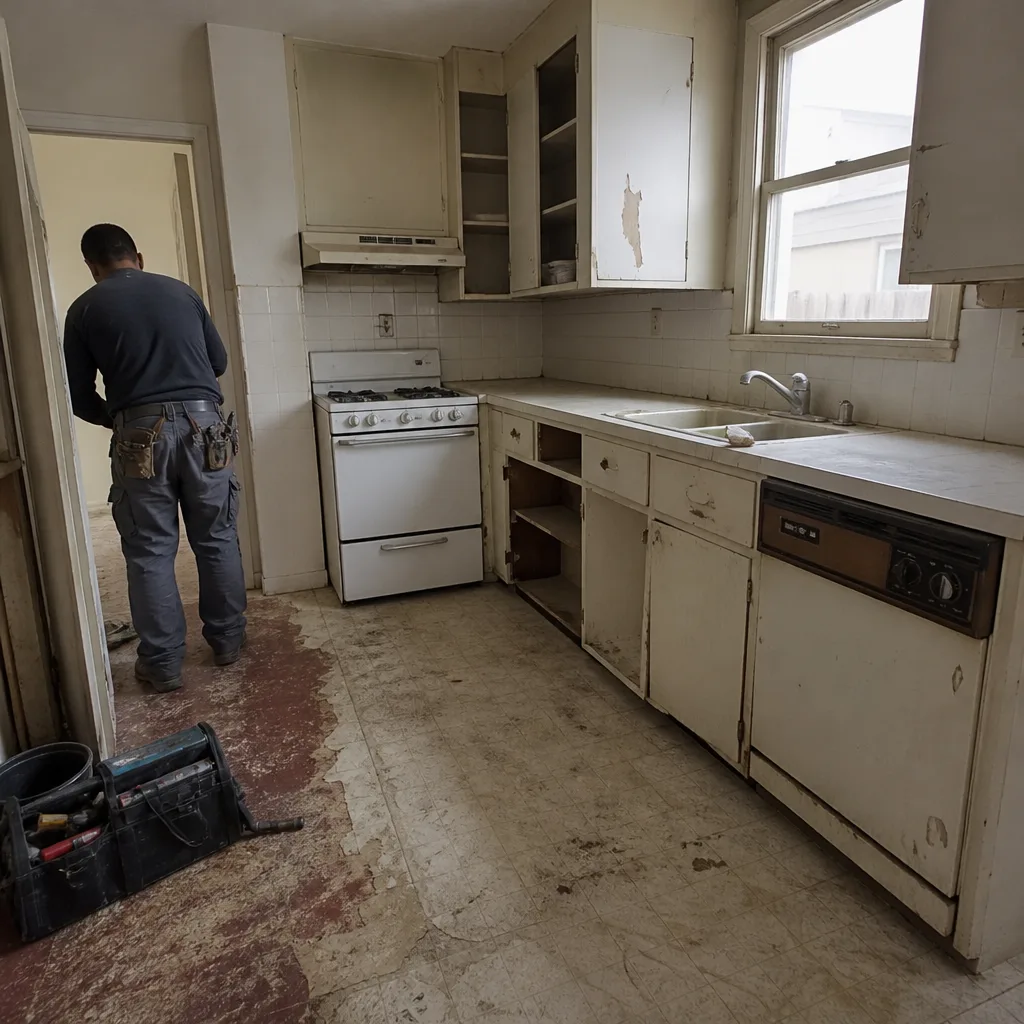 Before
 After
When to Call a Professional
Some things you handle yourself: re-caulking, cleaning the fan, checking supply lines, sealing stone, and running the seasonal inspection. Some things should go straight to a professional. Call if you see water staining on the ceiling below the bathroom, if the shower pan feels soft or flexes when you step on it, if grout is missing in patches and the tile beneath moves, if a fixture is leaking from behind the wall, or if the exhaust fan vents into the attic. Ander, if you’re inside a workmanship window and you’ve found a defect, document it with photos and call the contractor who did the work. Groundwork Construction Co. of San Francisco offers free estimates in San Francisco and welcomes post-remodel maintenance calls; call (866) 320-2646. Calls are answered by a live person, 24/7, and we schedule a technician to look at anything you’re not sure about. If you’re planning a new bathroom or a second one, the Fence Installation in San Francisco page shows the same construction-phase thinking we bring to interior work – a job isn’t done when the crew leaves; it’s done when it holds up. We also carry brand partners like Belgard and Kohler for outdoor and bath materials, so quality is a choice, not a default.
Frequently Asked Questions
Re-caulk all wet-area joints (shower corners, wall-to-pan or wall-to-tub transition) every 6 to 12 months, and inspect them quarterly. The first re-caulk should happen at the 6-month mark, when the original silicone has a chance to fail. After year two, most homeowners settle into an annual re-caulk in the fall.
It covers a caulk joint that failed prematurely because of an installation error – a joint that wasn’t prepped, was applied over a wet surface, or was the wrong product for the location. It does not cover normal caulk wear, which is a routine maintenance item. A reputable contractor will assess and tell you which category it’s in.
San Francisco’s marine layer keeps the ambient humidity higher than most of the Bay Area, and indoor humidity stays high in bathrooms that are close to the coast or in older homes with minimal wall insulation. Higher sustained humidity wears out caulk and grout faster and makes exhaust fan performance more critical. A Sea Cliff or Outer Richmond bathroom will need the same maintenance schedule as an inner Noe Valley one, but the timing of when things fail is shorter in the fog belt.
Cosmetic wear is surface-only: a hairline crack in the caulk that doesn’t pull away from the tile or turn cloudy, or grout that’s faded but still fills the joint. Waterproofing failure is anything that lets water past the surface: dark spotting at a caulk joint, missing grout with visible movement in the tile, a soft shower pan, or ceiling stains below the bathroom. If in doubt, call and have it assessed.
Re-seal natural stone every 12 months, and every 9 months in a high-use steam shower. Use a pH-neutral cleaner, never vinegar or bleach. Inspect grout every 3 months and seal the grout lines every 12 to 18 months. Marble is porous; sealing is the only thing standing between it and staining.
You can handle the cleaning, the fan maintenance, and the caulk on your own. The parts that benefit from a professional are the ones where you need a trained eye: assessing whether a grout failure is cosmetic or structural, checking whether your shower pan has moved, and deciding whether a fixture leak is an installation issue or normal wear. Our technicians have up to 12 years of experience on remodels and maintenance assessments, all background-checked and in uniform.
The Bottom Line
A bathroom remodel is finished at the final walkthrough. It’s proven over the next 24 months. The first year is your re-caulk year and your fan-clean year; the second year is your correction window, when anything that would have failed under a proper workmanship guarantee is still within it. Match your maintenance to the material you actually installed – stone needs sealing, grout needs sealing, cement tile needs more, porcelain needs less. Inspect the five caulk joints in order, learn the difference between cosmetic cracking and early failure, and keep a written record of what was installed so your schedule fits your bathroom. Ander, know what your guarantee covers and what it doesn’t. A well-maintained San Francisco bathroom holds for 25 years. A neglected one can fail in 24 months. The difference is about two hours of work a year.
Written by the team at Groundwork Construction Co. of San Francisco.
Ready to talk maintenance, repairs, or your next remodel? Call Groundwork Construction Co. of San Francisco at (866) 320-2646 for a free estimate. Our technicians have up to 12 years of experience, every call is answered by a live person 24/7, and every project is backed by our 730-Day Done Right Promise – if it’s not done right, we make it right. Upfront pricing, no surprises, and up to 18 months of 0% financing on approved credit. From foundation to finish line, one contractor, built to last and backed in writing.