
Last updated November 17, 2026
 Driveway & pavers
 Kitchen remodeling
 Bathroom remodeling
 Home additions & ADU
 Roofing
 Windows & doors
 Fence
Free written scope consultation - allowances, timeline, and change-order rules on paper before a single trade is scheduled
Driveway & Pavers Maintenance Schedule: What to Do and When
The paver sealer industry wants you on a two-year reapplication cycle. That advice sells buckets, not longevity. In our experience across San Francisco driveways, over-sealing is a bigger problem than under-sealing: it traps moisture in the base, feeds efflorescence, and contributes to surface spalling far more than it prevents. A properly installed paver driveway needs very little for the first several years. The homeowners who end up facing a reinstall at year eight are almost never the ones who skipped the sealer. They’re the ones who never touched the joint sand, never looked at the edge restraint, and let the drainage channel fill with debris. This guide covers the schedule that actually matters.
Quick Answer
Clean your paver driveway once a year in fall, before the San Francisco rainy season, using a leaf blower or a hose at low pressure. Re-sand the joints when they drop more than about half an inch below the paver surface, typically every two to four years. Inspect the edge restraint and drainage channel every spring and fall. Sealing is optional and should happen no more often than every five to seven years, if at all. Everything else on a paver driveway is cosmetic.
Styles & brands we work with
- Kitchen remodeling
- Bathroom remodeling
- Home additions & ADU
- Roofing
- Windows & doors
- Driveway & pavers
- Fence
Table of Contents
- The Only Three Maintenance Tasks That Actually Extend Paver Lifespan
- Why Fall Is the Critical Maintenance Window in San Francisco
- Annual Checks vs. Every Three to Five Years: What to Look For
- Pressure Washing: Frequency and the PSI Threshold That Starts Causing Damage
- Do You Actually Need to Seal? An Honest Answer for San Francisco
- How to Build a Maintenance Log That Protects Your Warranty
- Common Mistakes to Avoid
- When to Call a Professional
The Only Three Maintenance Tasks That Actually Extend Paver Lifespan
Most paver maintenance advice treats every task as equally important. It isn’t. In our work on paver driveways in San Francisco, we’ve seen installations that lasted twenty years with barely any attention and installations that failed in six with a devoted maintenance routine. The difference was always in three specific things.
1. Joint sand replenishment. The sand between pavers is not decorative filler. It’s a structural component. It locks each unit in place, distributes load across the surface, and blocks water from reaching the bedding layer. When joints go bare, pavers start to shift, and shifting pavers open more joints, which lets in more water. It’s a loop. Re-sand when the joint is more than half an inch below the surface, or when you can slide a finger in past the first knuckle. On a typical San Francisco residential driveway, that’s every two to four years.
2. Edge restraint inspection. The edge restraint is the concrete or plastic lip that holds the paver field in compression against the driveway boundary. If it cracks, lifts, or pulls away from the pavers, the whole field can start spreading outward. This is the single most common cause of paver failures we see in San Francisco, particularly on sloped driveways in neighborhoods like Noe Valley and Bernal Heights where the grade puts extra lateral load on the downhill edge.
3. Drainage channel clearing. Water is the enemy of any paver system. If your driveway drains to a channel, a curb cut, or a yard drain, that path has to stay open. Leaves, silt, and construction debris from neighboring projects all end up there. A clogged drain turns a well-built driveway into a pond during the first real storm, and standing water on pavers accelerates joint sand loss dramatically.
Everything else (sealing, weed pulling, moss removal, restaining) affects appearance. These three affect how long the driveway lasts.
Why Fall Is the Critical Maintenance Window in San Francisco
National paver guides almost universally tell you to do maintenance in spring. That advice was written for climates with winter freeze-thaw cycles and dry summers. San Francisco is the inverse. Our wet season runs from roughly November through March, and our dry season is the summer. The critical window isn’t spring, it’s the four to six weeks before the first sustained rains, which usually means late September through mid-October.
Here’s the reasoning. Anything you do in fall is protecting the driveway before it faces its hardest test. Anything you do in spring is repairing what already happened. If you re-sand in April, you’ve spent the entire rainy season with bare joints taking in water. If you re-sand in October, the sand is in place when the first real storm hits.
San Francisco’s fog belt adds a wrinkle most guides don’t address. Neighborhoods on the west side and in the Avenues (Sunset, Richmond, Parkside) get persistent marine moisture well into the fall, and the pavement often stays damp for days after a rain. That constant moisture is harder on joint sand and edge restraints than a short, heavy storm in a dry climate. Fall maintenance in these areas should include an inspection of any shaded or north-facing section of the driveway, where moss and algae start earlier and stay longer.
What fall maintenance looks like in practice:
- Clear all debris from the driveway surface, gutters, and drainage channels before the first rain.
- Inspect joint sand depth in a grid pattern (front to back, left to right) and mark any low spots.
- Re-sand low joints with the correct aggregate, not play sand.
- Walk the full perimeter and check the edge restraint on every side.
- Test the drainage by running a hose on a few spots to confirm water flows off the surface rather than pooling.
- Log what you found and what you did, with a date.
The same logic applies to other exterior projects. If you’re also planning fence installation in San Francisco, fall is also the right time to inspect fence posts and gates for storm readiness, so the exterior maintenance push is worth doing in one pass.
Annual Checks vs. Every Three to Five Years: What to Look For
A lot of driveway care advice tells you to “inspect regularly.” That’s useless. Here’s what to actually look for, at what interval, with specific visual thresholds that tell you whether a problem is real.
Every Year (Fall, Plus a Quick Look in Spring)
- Joint sand depth: Joints below 1/2 inch are due for re-sanding. Below 1/4 inch is urgent.
- Edge restraint cracks: Any gap wider than a credit card between restraint and pavers, or a visible crack in the concrete restraint itself.
- Drainage flow: After a heavy rain, check for standing water. If water is still present 30 minutes after the rain stops, the drainage path is compromised.
- Efflorescence: White chalky deposits on the paver face. It’s cosmetic in small amounts, but a persistent bloom signals regular moisture getting under the pavers.
- Paver movement: Step on each paver in a few spots. Any paver that rocks underfoot means the bedding layer has failed locally.
- Weeds in joints: More than a handful in the same area means the sand is gone, not that the weeds are aggressive.
Every Three to Five Years
- Full re-sanding: A complete joint sand refresh with polymeric sand or the correct aggregate for your installation type is typically due in this window.
- Sealing review: If you’ve sealed before, the coating is probably breaking down. That’s when you decide whether to strip and re-seal or let it weather naturally.
- Deeper assessment of pavers near the street apron: This is where tire scrub and salt exposure are highest, particularly on sloped San Francisco driveways where cars brake harder.
- Base condition under any pavers that have moved: If more than three or four pavers have shifted, the issue is usually below them, not at the surface.
The practical version: run a full walkthrough every fall, and put a reminder in your phone for the same week every year. The spring check should take ten minutes and is only there to catch winter damage before it compounds. Real re-sanding and any real repair decision falls into the three-to-five-year band, which is why most homeowners only need to think hard about their driveway once per decade.
Pressure Washing: Frequency and the PSI Threshold That Starts Causing Damage
Pressure washing is the maintenance task most likely to cause damage on a paver driveway. The damage isn’t dramatic; it happens slowly over years, and by the time you notice it, you’re re-sanding entire sections instead of touching up a few joints.
Here’s the threshold: keep the pressure under 1500 PSI on a paver surface, and keep the nozzle at least 12 inches away. Above 1500 PSI, and especially with a narrow nozzle held close to the surface, you can blast out joint sand in seconds. Once the sand is gone, water gets under the pavers, and you’re on the path to movement and settlement. Concrete pavers can also lose their surface cream or texture at high pressure on the leading edges, which is permanent.
For most San Francisco driveways, pressure washing once a year is enough, and many driveways benefit from being cleaned with a garden hose and a soft-bristle push broom instead. That approach removes surface dirt, moss, and salt without touching joint sand. If you’re going to use a pressure washer, use a wide-fan tip, keep the pressure low, and work from the top of the slope down so you’re not pushing debris into the lower joints.
What to avoid:
- Rotary or turbo nozzles on paver surfaces. They’re designed for concrete slabs and will damage paver joints.
- Washing against the joint orientation. Wash perpendicular to the paver pattern, not parallel to joint lines.
- Washing right after re-sanding. Give new joint sand at least a week and preferably a full dry stretch before any water.
- Pressure washing at all in the four weeks after sealing. You’ll strip the coating before it cures.
If you want a deeper clean, hire a company that specializes in paver maintenance rather than general pressure washing. A general-purpose pressure washing crew may not know what PSI threshold is safe for your specific installation. Our crews that handle paver work in San Francisco use surface cleaners calibrated for paver installations, and if we’re already on site for another project, we’ll usually point out joint sand and edge restraint issues while we’re there.
Do You Actually Need to Seal? An Honest Answer for San Francisco
Most driveway contractor marketing implies you need to seal your pavers every two years. That’s the wrong default. For San Francisco specifically, the case for frequent sealing is weaker than you’d expect, and the case for over-sealing is real.
What sealing does: it blocks water absorption into the paver face and slows UV color fade. What it doesn’t do: hold the pavers in place, replace lost joint sand, or fix base problems. And here’s the trade-off most people miss. Sealer traps moisture as effectively as it blocks it. If any moisture is already under the pavers, or if water finds a way in through an unsealed joint or a cracked restraint, the sealer keeps it there. Combined with San Francisco’s persistent marine moisture, that trapped water is what drives efflorescence, cycles the paver face through wet-dry expansion, and eventually causes spalling on the surface.
Our recommendation for San Francisco driveways:
- Don’t seal in the first three years after installation. The pavers need to fully cure and stabilize in the base.
- If you seal, use a breathable penetrating sealer, not a film-forming coating. Penetrating sealers let the paver breathe while still slowing moisture absorption.
- Five to seven years between applications is the right cadence, not two. Film-forming sealers that need reapplication every two years are a sign you’re using the wrong product, not that the driveway needs more coating.
- Skip sealing entirely if your driveway drains well, has correct joint sand depth, and shows no efflorescence. There is no benefit to sealing a driveway that’s already performing.
One neighborhood note: homeowners in Pacific Heights and Sea Cliff, where driveways see more foot traffic and vehicle entry angles are steeper, sometimes choose to seal for appearance reasons rather than durability. That’s a valid choice, but it’s aesthetic, not protective. On sloped driveways in those areas we typically recommend waiting longer between coats, not shorter.
How to Build a Maintenance Log That Protects Your Warranty
A maintenance log is a two-minute-per-year task that saves you real money if you ever need to make a warranty claim. The idea is simple: most warranties on paver installation, whether through a contractor or the paver manufacturer, include a maintenance clause. Claims get denied because the homeowner can’t demonstrate the driveway was maintained, not because there’s any evidence it wasn’t.
What your log needs to cover:
- Date of each maintenance event. Simple as that. “Cleaned and re-sanded, October 12” is enough.
- What you did. Re-sanded, cleaned, cleared the drain, inspected the edge restraint. One line each.
- Photographs, wide and close. A full-driveway photo from a fixed spot each year, plus close-ups of any joints you re-sanded or any edge restraint sections you inspected. Photos are what turn a written log into evidence.
- Any contractor work performed. If a pro came out, note who, when, and what they did. Keep the invoice PDF in the same folder as the photos.
- Any problems noted but not yet fixed. A note like “paver near the street shows slight rock, monitor next year” is exactly what you want if a larger issue develops later. It shows you noticed and tracked it.
Where to keep it: a calendar reminder plus a folder in your cloud drive is enough. Some paver manufacturers also have their own maintenance forms; if yours does, use theirs. A 730-Day Done Right Promise on our work adds a second layer of protection, but a maintenance log is what makes either kind of warranty actually usable. If you’re facing a claim, a written record is what turns a conversation into a resolution.
While you’re at it, this is the same year to think about the wider property. If your exterior projects are all coming due at once, an ADU or home addition in San Francisco can be phased around the fall maintenance push rather than competing with it for labor and access.
Common Mistakes to Avoid
- Re-sanding in spring instead of fall. Spring leaves the joints bare through the rainy season. Fall re-sanding puts new sand in place before the driveway faces its hardest weather.
- Using play sand for joint fill instead of polymeric sand or the correct aggregate. Play sand washes out within a single wet season in San Francisco, and it doesn’t lock pavers in place. The right aggregate lasts years.
- Pressure washing at full blast to clean moss off. It takes out the joint sand in a single pass. Clean moss with a garden hose and a broom, or use low pressure with a wide tip.
- Sealing every two years because a previous contractor said so. Frequent film-forming sealer locks moisture in, which increases efflorescence and eventually surface damage. Five to seven years is the right interval, and zero years is also fine.
- Ignoring the edge restraint until pavers spread. A visible crack in the restraint is a cheap fix. Once pavers start shifting, it’s a much larger repair. Check the restraint every fall.
- Skipping the drainage channel because it “looks fine.” The channel is what stops ponding during the heaviest storms. Standing water on a paver driveway accelerates joint sand loss dramatically, and standing water is often only visible if you check after a real storm, not on a dry day.
- Not keeping any record of maintenance. If you ever need to invoke a warranty, the written record is what determines the outcome. Two minutes a year prevents the argument.
When to Call a Professional
Most paver maintenance is a homeowner job. Three situations justify a call. First, if more than a handful of pavers have shifted or are rocking underfoot, the base has likely failed in a localized spot, and fixing it requires lifting and re-bedding pavers rather than surface work. Second, if the edge restraint has separated from the pavers on any side, or you see visible cracks in the concrete restraint itself, the field is no longer in compression and needs a proper repair. Third, if re-sanding never seems to hold because the joints refill with weeds or lose sand within a few months, that usually signals a base or drainage issue that surface work can’t solve.
Groundwork Construction Co. of San Francisco offers free estimates on paver installation and repair in San Francisco. Call (866) 320-2646. Our technicians have up to 12 years of experience with paver driveways in San Francisco, and every project is backed by our 730-Day Done Right Promise: if it’s not done right, we make it right. The number you see is the number you pay, and we pull permits and pass inspections where they apply.
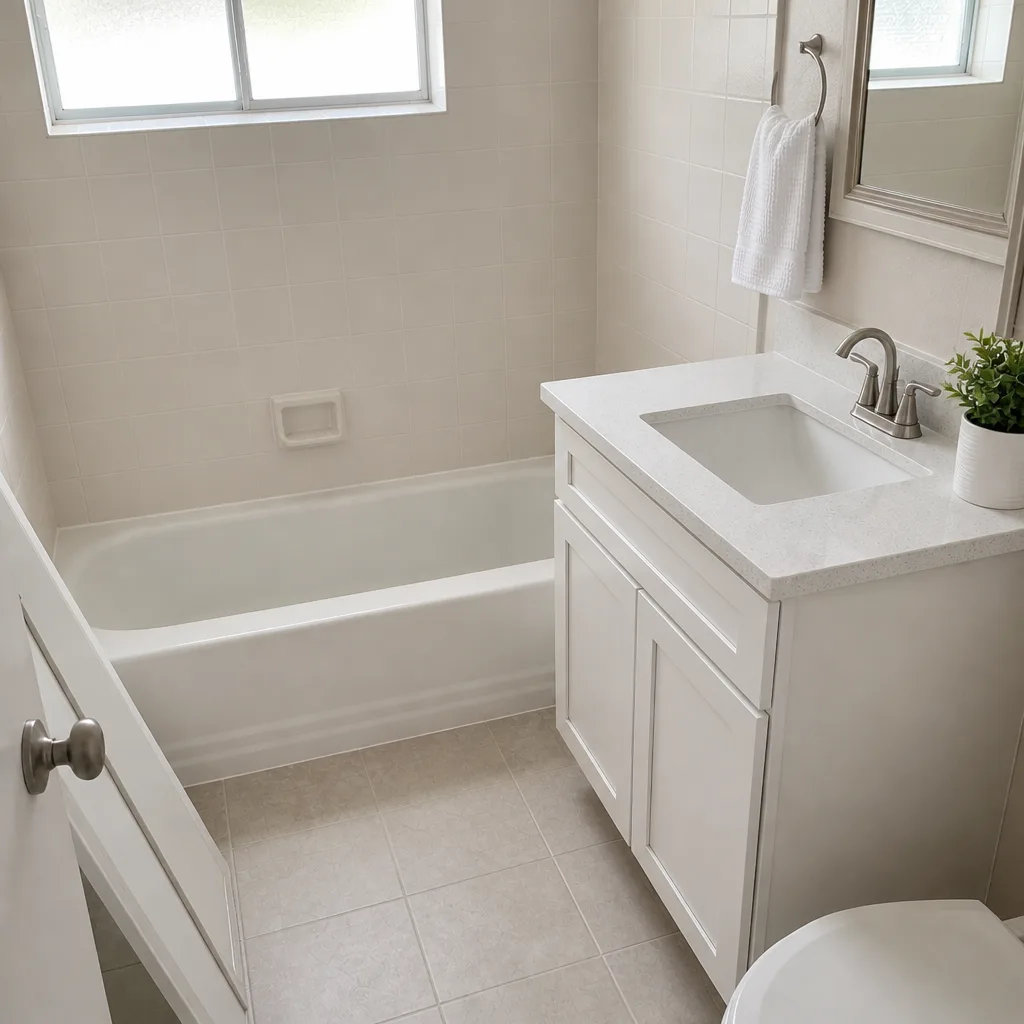
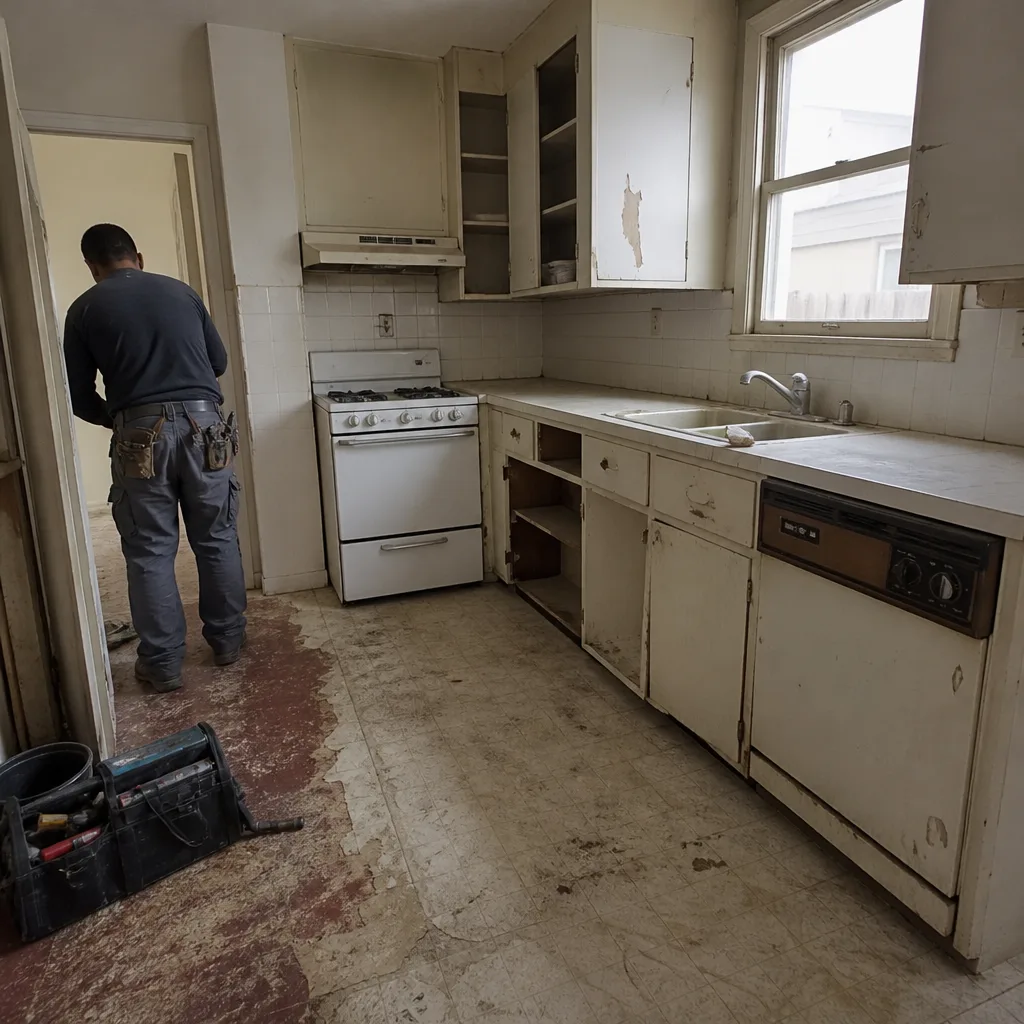
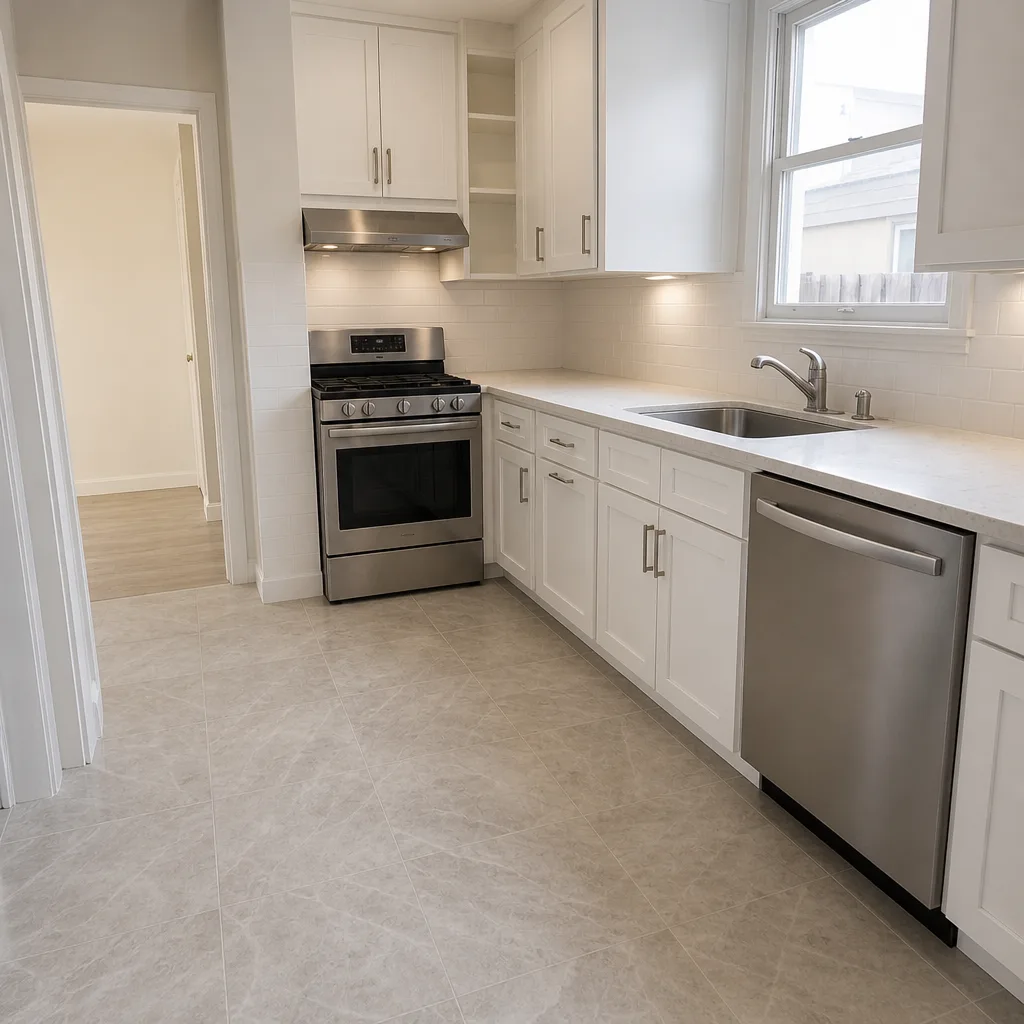
See the difference
 Before
 After
 Before
 After
 Before
 After
Frequently Asked Questions
Every five to seven years, if at all. Sealing every two years is a common recommendation from sealant manufacturers, but it’s not what pavers need in San Francisco’s climate. Over-sealing traps moisture under the pavers, which drives efflorescence and surface spalling. If your driveway drains well and has correct joint sand depth, skipping the sealer entirely is a valid choice. For a specific recommendation on your installation, call (866) 320-2646 for a free estimate, and we’ll tell you honestly whether sealing is needed.
No. Re-sand when joints drop more than about half an inch below the paver surface, or when sand is missing in specific spots. For most San Francisco driveways, that’s every two to four years. Doing it every year wastes money, and the disruption of fresh sand doesn’t help the pavers. Fall is the correct season for re-sanding in San Francisco, because it puts new sand in place before the rainy season starts.
Yes, with limits. Keep the pressure under 1500 PSI and the nozzle at least 12 inches away, and use a wide-fan tip. Above that pressure, you’ll blast out joint sand in seconds. For most San Francisco driveways, a garden hose and a broom is a better choice for routine cleaning, and pressure washing once a year with the right settings is the maximum. If you’re not confident about the PSI, call us at (866) 320-2646 for a free estimate on a maintenance visit.
That’s efflorescence, a salt deposit that migrates to the surface as moisture evaporates through the paver. It’s cosmetic in small amounts and usually indicates water getting under the pavers. In San Francisco’s fog belt, especially on north-facing driveways in the Avenues, efflorescence is common in wet years. Address the joint sand and drainage first; the efflorescence usually resolves on its own. Persistent blooms across large sections are worth a professional look. Call (866) 320-2646 for a free estimate.
Look for three signs: a visible gap wider than a credit card between the restraint and the pavers, a crack in the concrete restraint itself, or a section where the paver field has spread outward past the restraint line. Any of those means the driveway is losing compression and repair is relatively urgent. The fix is inexpensive if you catch it early and expensive if you don’t. Groundwork Construction Co. of San Francisco offers free estimates on edge restraint repair in San Francisco: call (866) 320-2646.
Fall cleaning, joint sand inspection, edge restraint inspection, and drainage clearing. That’s it for most driveways. The San Francisco angle is the timing: fall is the critical window, not spring, because our rainy season runs November through March and the driveway needs to be ready before the first rain. The marine moisture on the west side of the city demands a little more attention to north-facing sections, especially moss and efflorescence. For a free estimate on professional maintenance or repair in San Francisco, call (866) 320-2646.
The Bottom Line
The paver driveway maintenance schedule that actually matters is short: fall clean, joint sand check, edge restraint inspection, drainage clearing, and a written log. Re-sand every two to four years, seal every five to seven at most, and skip the every-two-years reapplication cycle regardless of what a sealer bucket says. In San Francisco, the schedule should be built around our wet winters, which makes fall the critical window rather than the spring routine most national guides recommend. Done this way, a properly installed paver driveway shouldn’t need meaningful repair attention for a decade or more. Skip it, and you’re looking at a reinstall around year eight.
Related Guides
- Groundwork Construction Co. of San Francisco home
- Driveway & Pavers in San Francisco
- Fence Installation in San Francisco
- Home Additions & ADU in San Francisco
If you’re planning driveway work in San Francisco or want a second opinion on a paver installation that’s showing wear, Groundwork Construction Co. of San Francisco offers free estimates. Call (866) 320-2646 to schedule yours. Our technicians have up to 12 years of experience with paver systems, we answer the phone with a live person any hour of any day, and every project we touch is covered by our 730-Day Done Right Promise. When we quote a paver job, the number you see is the number you pay, and we handle permitting and inspection as part of the work. For a driveway you won’t have to think about for the next decade, give us a call.
Written by the team at Groundwork Construction Co. of San Francisco.