
Last updated November 17, 2026
 Driveway & pavers
 Kitchen remodeling
 Bathroom remodeling
 Home additions & ADU
 Roofing
 Windows & doors
 Fence
Free written scope consultation - allowances, timeline, and change-order rules on paper before a single trade is scheduled
Driveway & Pavers Maintenance Checklist for San Francisco Homeowners
A paver driveway that lasts 25 years in Sacramento may crack and shift within 7 in San Francisco’s expansive clay soils. Not because the product failed, but because nobody accounted for what happens when that clay gets wet every winter. San Francisco sits on a mix of Franciscan melange, serpentine, and clay-heavy fill that swells when the rains arrive and shrinks when the fog burns off. Add salt air in the Sunset, steep grades in Twin Peaks, and hillside retaining walls in Bernal Heights, and you get one of the most punishing environments for hardscape in California. This checklist is built for the conditions you actually face here, not the flat, dry suburbs most maintenance guides assume.
Quick Answer
In San Francisco, driveway pavers need inspection twice a year (late fall before the rains, early spring after them), joint sand replenishment every 1-2 years on grades above 10%, and resealing every 3-5 years depending on proximity to the coast. The most common failures we see are joint sand washout on sloped driveways and edge heave from clay expansion, both of which are preventable with the right seasonal maintenance.
Key Takeaways:
- San Francisco’s wet-dry cycle moves clay soil more aggressively than most of the Bay Area, and paver joints are where that movement shows up first.
- Coastal neighborhoods (Sunset, Richmond, Excelsior) need resealing on the shorter end of the range because salt air breaks down sealers faster.
- Steep driveways above 10% grade lose joint sand every rainy season and need a fall inspection before the first real storm.
- Retaining wall movement is a separate problem from paver settling and needs a different response.
- A written, seasonal checklist beats a once-a-year glance every time.
Styles & brands we work with
- Kitchen remodeling
- Bathroom remodeling
- Home additions & ADU
- Roofing
- Windows & doors
- Driveway & pavers
- Fence
Table of Contents
- Why San Francisco’s Clay Soils Are Hard on Driveways
- Salt Air, Fog, and When to Reseal in Coastal San Francisco
- Steep Driveways: Joint Sand Washout and Water Channeling
- Retaining Walls and Hillside Driveways: Settling vs. Structural Failure
- The Season-by-Season Maintenance Checklist
- Warning Signs You Should Catch Early
- Drainage Solutions That Work for San Francisco Lots
Why San Francisco’s Clay Soils Are Hard on Driveways
San Francisco’s geology is not uniform. You have sandy fill in the Marina, serpentine rock on Twin Peaks, and expansive clay in pockets of Noe Valley, Bernal Heights, and the Inner Sunset. That clay is the problem child. When it absorbs winter rain, it swells. When the dry season returns and the fog keeps the surface cool but the soil dries from below, it shrinks. That cycle is repeated every year, and pavers sit directly on top of the moving base.
What that looks like in practice: joints between pavers widen by a few millimeters each cycle, joint sand washes out or sinks, and the pavers themselves can heave slightly at the edges of the driveway. If the base wasn’t built to absorb some movement (specifically, a properly compacted aggregate base with a geotextile separation layer), the movement transfers straight into the pavers.
What the swelling-shrinking cycle actually does to a driveway:
- Joint separation: Gaps of 3-8mm open between pavers, especially near the driveway apron and edges.
- Edge heave: Pavers at the driveway’s perimeter lift slightly above the field, creating a trip edge and a water entry point.
- Sand migration: Joint sand sinks into voids below or washes out during rain, leaving pavers unsupported at the corners.
- Hairline cracking in the base: Only visible when a paver is pulled, but it accelerates settling across the driveway.
In our experience installing driveways across San Francisco, most paver failures in clay-heavy neighborhoods aren’t material failures. They’re base preparation failures or drainage failures. When you’re ready to look at a new installation rather than maintain an old one, Driveway & Pavers in San Francisco covers how we build for these soil conditions from the ground up. For maintenance on an existing driveway, the inspection list below is where to start.
How to Check for Clay Movement
- Walk the perimeter of the driveway and look for pavers sitting higher or lower than the field.
- Use a 4-foot level across the width of the driveway to spot-edge lift or crown changes.
- Press a screwdriver into the joints at the driveway’s edges. If it drops more than an inch, sand has migrated.
- Note any new cracks in the apron where the driveway meets the sidewalk or garage slab.
Salt Air, Fog, and When to Reseal in Coastal San Francisco
The Sunset, Richmond, Outer Parkside, and Excelsior face a specific problem inland driveways don’t: salt-laden air combined with near-constant moisture. Salt air accelerates the breakdown of film-forming sealers, and the fog belt keeps the surface damp long enough for that breakdown to happen every year. If you live within about a mile of Ocean Beach, the reseal interval is 3 years, not 5. Inland neighborhoods like Noe Valley and Glen Park can stretch to 4-5 years.
The bigger issue is what sealer you use. Most of the acrylic sealers sold at hardware stores are designed for dry climates. They form a film that traps moisture underneath when the surface stays damp for weeks, and the film itself breaks down faster in salt air. When that happens, the sealer peels and flakes, leaving the pavers exposed and looking worse than before you started.
What to use instead in San Francisco’s coastal neighborhoods:
- Penetrating siloxane or silane sealers: These soak into the paver instead of forming a film, so they don’t peel and they last longer in damp, salty air.
- Breathable acrylic sealers designed for marine climates: Lower solids content, rated for coastal exposure, and applied in two thin coats rather than one thick one.
- Avoid high-solids film sealers entirely on coastal driveways: They trap moisture and break down faster than the paver beneath them.
Never seal a driveway that hasn’t dried completely. In San Francisco, that means waiting for at least 3-4 consecutive dry days in late spring or early fall, and being careful about morning fog. Seal in the afternoon once the surface is dry and air temps are above 60°F, and stay off the driveway for 24-48 hours after.
Steep Driveways: Joint Sand Washout and Water Channeling
Any San Francisco driveway above 10% grade behaves differently in the rain than a flat one. Water moves downhill fast, and joint sand moves with it. A steep driveway in Twin Peaks or Diamond Heights can lose most of its surface sand in a single heavy storm if the joints weren’t fully filled before the rains started.
That matters because joint sand isn’t cosmetic. It locks pavers to each other and blocks water from getting under them. When the sand washes out, water enters the joints directly, hits the bedding layer, and starts loosening the pavers individually. Then the pavers shift one at a time instead of moving as a locked field, and the driveway looks patched-together within a couple of rainy seasons.
What to watch on a steep driveway:
- Sand gullies: Visible channels of missing sand running down the driveway after a storm.
- Paver rocking: Any paver that moves when you step on the corner, especially near the bottom of the slope.
- Water pooling at the apron: Water sheeting off a steep driveway can pool where it meets the garage slab or street, then back up into the joints.
- Efflorescence (white powdery streaks): A sign that water is moving through the pavers rather than off them.
Refilling Joint Sand on a Slope: The Right Way
- Wait for a dry stretch of 3-4 days minimum, ideally in late October before the rain arrives.
- Sweep the joints clear with a stiff broom, then clean any residue with a leaf blower on low.
- Pour polymeric joint sand (not ordinary sand) across the driveway and sweep it into the joints with a push broom.
- Compact with a plate compactor on a rubber mat over the whole driveway. This is the step most homeowners skip, and it’s the one that locks the sand in place.
- Refill and compact a second pass until the joints are level with the paver surfaces.
- Lightly mist with water (only if the sand is specified for it) to activate the polymer binder.
Polymeric sand is worth the extra cost on steep San Francisco driveways because it resists washout far better than regular sand. It’s not a forever fix; expect to top off every 1-2 years on steep grades.
Retaining Walls and Hillside Driveways: Settling vs. Structural Failure
Many San Francisco homes sit on hilltops or slopes, which means the driveway is often flanked by or built near a retaining wall. The wall holds back the hillside, and the driveway sits at the top or bottom of that held-back soil. That arrangement makes it hard to tell whether a new paver dip is normal settling (fix by topping off sand) or something worse (fix by rebuilding).
Normal settling shows up within the first 18 months after installation, is usually even across the driveway, and responds to a sand refill. Structural failure looks different: it’s sudden, it’s localized, and it comes with movement in the wall itself.
Signs you have structural movement, not normal settling:
- The retaining wall is tilting outward by more than an inch over several feet, or visibly bowing.
- You see movement in the wall’s joints (widening, offset stones, angled capstones).
- The driveway sank more than 2 inches in a concentrated area, and the dip is getting worse each month.
- Water is seeping out through the wall face during dry weather, indicating the wall is holding water rather than draining it.
- The top of the wall has shifted away from the sidewalk or the ground behind it.
If you see any of those, stop. Don’t just refill the sand. A retaining wall that’s moving needs evaluation by a licensed structural or geotechnical professional before you put any more weight or use on the driveway. That kind of scope sits beyond driveway maintenance and belongs in a broader site evaluation; when a wall needs rebuilding along with driveway work, Home Additions & ADU in San Francisco is the framework we build retaining walls and site improvements to.
On a hillside property, it’s worth checking the driveway’s drainage is actually routing water away from the retaining wall, not into it. More on that below.
The Season-by-Season Maintenance Checklist
San Francisco’s wet-dry cycle runs roughly November through April, with the bulk of the rain in December-March and the summer determined by fog. A generic “do this once a year” checklist misses the fact that the stress on your driveway arrives in predictable waves. Here’s the schedule we use for San Francisco properties.
Late Fall (October-November): Before the Rains
- Walk the full driveway and inspect all joints for visible sand loss.
- Sweep and refill joint sand with polymeric sand if you’re on a slope above 10% grade.
- Compact the joints with a plate compactor after refilling.
- Clear any debris from drainage channels, gutters, and the driveway apron.
- Check that the driveway’s slope drains away from the garage slab and garage door threshold.
- If you haven’t sealed in 3 years and you’re within a mile of the coast, this is the window.
Winter (December-March): After Each Major Storm
- Walk the driveway and look for new low spots or sand gullies.
- Check for water pooling anywhere on the surface, especially at the bottom of a slope.
- Spot-check pavers at the driveway perimeter for looseness.
- Look up at the retaining wall every few storms to confirm nothing has shifted.
Early Spring (March-April): After the Rains
- Inspect joints that were fully filled in the fall; refill any that lost sand over the winter.
- Scrub off any efflorescence (white streaks) with a diluted white vinegar solution and a stiff brush.
- Take photos of the retaining wall and driveway from the same spot every year. Comparing photos catches slow movement earlier than a walk-around does.
- Check that your drainage outlets into the sidewalk or street aren’t blocked.
Late Spring/Early Summer (May-June): Sealing Window
- Confirm 3-4 dry days in the forecast (rare in San Francisco; check carefully).
- Apply penetrating sealer or breathable acrylic, two thin coats with an airless sprayer or roller.
- Keep vehicles and foot traffic off for 24-48 hours.
Summer (July-September): Watch for Drying Clay
- Watch for new cracks or dips in the driveway that appear as clay shrinks. These are seasonal and often close back up once the rains return, but document them.
- Avoid parking heavily loaded vehicles on the same spot on clay-heavy driveways for long stretches.
- Rinse off any salt buildup from coastal air at least once during the summer.
Warning Signs You Should Catch Early
By the time a paver is visibly rocking underfoot, the base has already moved. These are the earlier signs that tell you something is going wrong before the surface layer fails.
The seven checks to do at least twice a year:
- Joint sand level: Use a screwdriver to press down in a joint. If it sinks more than 1 inch, sand has migrated.
- Edge pavers: Press the corner of every perimeter paver. Any rock or lift is a warning sign.
- Efflorescence: White streaks on the paver face mean water is moving through the pavers, not off them.
- Water pooling: Note anywhere water sits for more than a few hours after rain. That’s where pavers fail next.
- Wall movement: Compare the retaining wall against a reference photo taken a year earlier.
- Sealer cracking or peeling: On coastal driveways, this typically means the sealer is 3+ years old.
- Garage door threshold: Check the seam where the driveway meets the garage slab. If it’s cracked or lower than the driveway, water is coming under the door.
Any of those signs means it’s time for a real inspection, ideally before the fall rains arrive. Doing one round of maintenance in October and one in April catches most of the failures we see before they turn into reconstruction.
Drainage Solutions That Work for San Francisco Lots
San Francisco’s narrow lots, hillside grade, and clay soils mean driveways can’t just drain downhill and hope for the best. Water that runs off your driveway needs a place to go before it hits your foundation, garage, or your neighbor’s property. The wrong drainage system actively makes the clay soil problem worse by concentrating water in one spot.
The right solution depends on the driveway configuration you actually have, not the standard options sold at box stores.
Drainage approaches that work in San Francisco:
- Channel drains across the driveway apron: For driveways where the slope runs toward the garage or the sidewalk, a linear channel drain across the width of the driveway catches water before it hits the door threshold.
- Trench drains along the retaining wall: When the driveway runs alongside a retaining wall, a trench drain at the base of the wall redirects water around the wall rather than through it.
- Permeable paver banding: A strip of permeable pavers on the low side of a sloped driveway lets water drain through the surface into the base layer instead of sheeting sideways.
- Dry wells where allowed: In some San Francisco lots (typically those with adequate yard space) a dry well tied to the downspouts and driveway drains can handle the volume below grade. These need to meet SF Public Works specifications and are subject to setback rules.
- French drains along the driveway’s upland side: For hillside driveways, a French drain on the uphill side intercepts groundwater before it crosses the driveway.
In our experience, drainage is the single biggest difference between a San Francisco driveway that lasts 7 years and one that lasts 15+. When we install a driveway, drainage is designed before pavers are specified, and the work is covered under the 730-Day Done Right Promise so any drainage issue that surfaces within the first two years gets fixed under warranty. If you’re budgeting for drainage work or a driveway rebuild, call (866) 320-2646 and we’ll walk through the options on your site.
Common Mistakes to Avoid
- Sealing a damp driveway. San Francisco’s fog makes the surface feel dry while the paver is still holding moisture. Sealing too soon locks that moisture in and shortens the sealer’s life by months. Wait for a 3-4 day dry window, and seal in the afternoon.
- Using ordinary sand on a sloped driveway. Standard joint sand washes out on grades above 10% within one winter. Polymeric sand is the right call on Twin Peaks, Diamond Heights, and any driveway above a 10% grade.
- Refilling joint sand without compacting. Sweeping sand into joints looks fine until the first rain, but without a plate compactor pass, the sand never locks and washes out just as fast as before you refilled.
- Treating retaining wall movement as a paver problem. Refilling sand on a driveway whose retaining wall is moving just hides the issue for a season. Wall movement needs a licensed structural or geotechnical evaluation before any other work.
- Skipping perimeter inspection. Edge pavers are the first to lift when clay moves. Walk the perimeter of your San Francisco driveway every time you inspect; don’t just eyeball the center.
- Ignoring drainage on the uphill side of a hillside driveway. French drains on the uphill side intercept groundwater before it crosses your driveway. Without them, water pools under the pavers and softens the base every winter.
- Choosing sealer by price instead of climate. Acrylic sealers designed for dry markets break down in salt air and trap moisture. Coastal San Francisco driveways need penetrating siloxane or breathable acrylic; not the cheapest jug on the shelf.
See the difference
 Before
 After
 Before
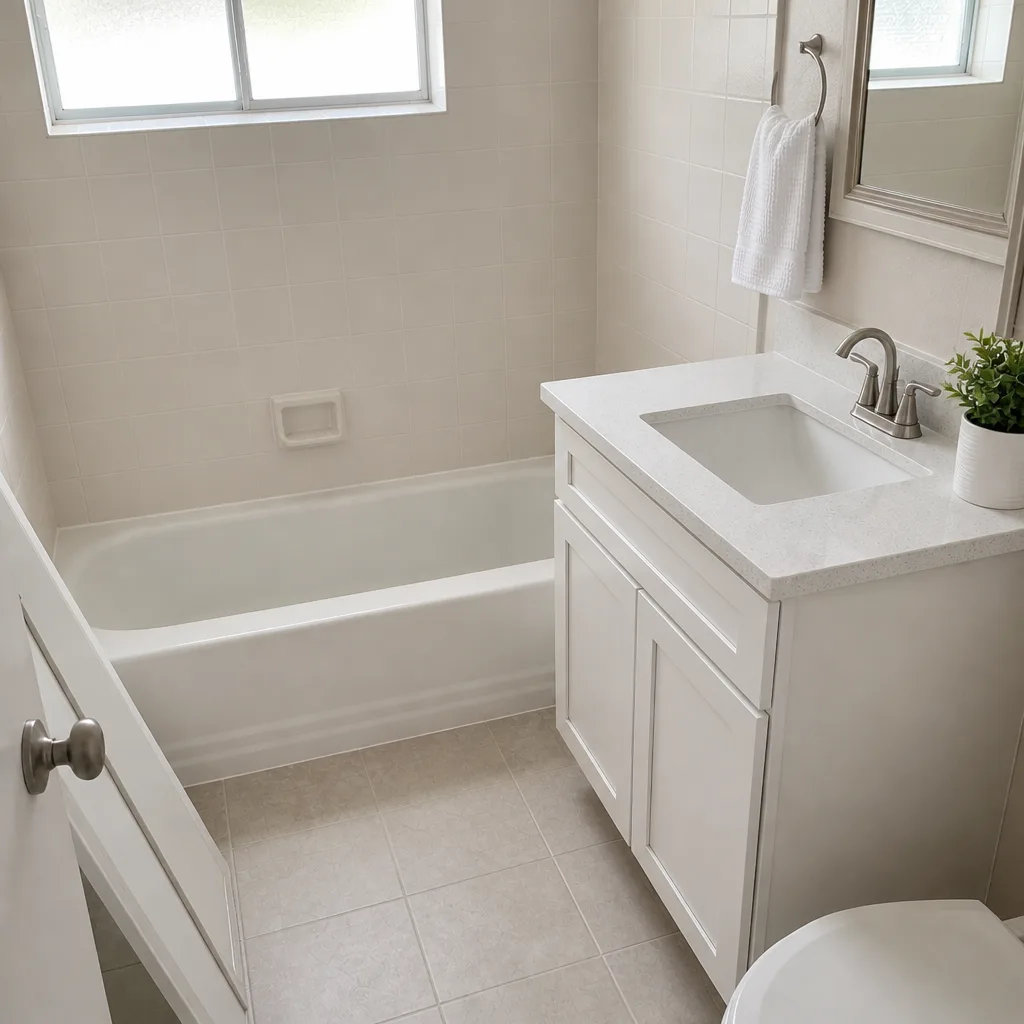 After
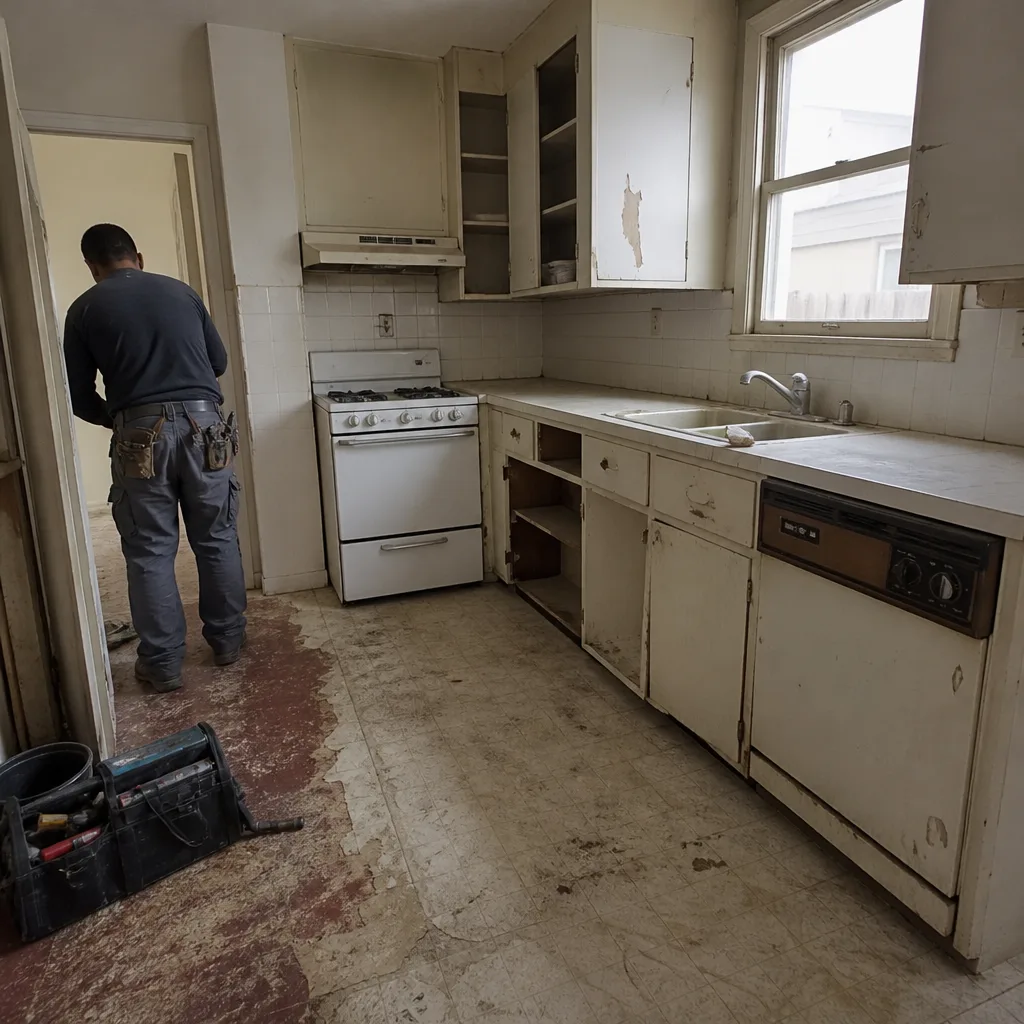 Before
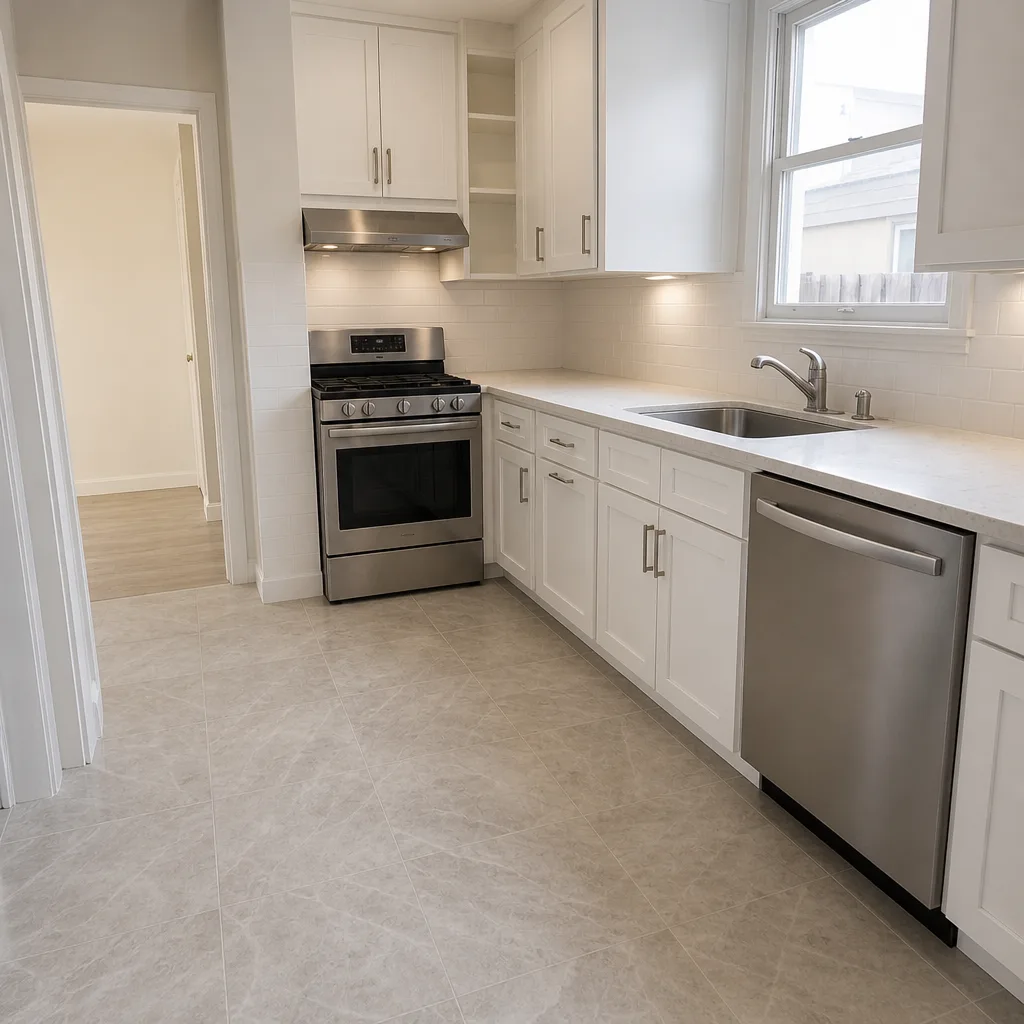 After
When to Call a Professional
Call for a professional evaluation when you see any of these: joint sand disappearing every season despite refills, pavers that rock underfoot in more than a few spots, a retaining wall that’s moved or is bowing, standing water that doesn’t drain within a few hours of a storm, or a driveway that’s more than 8-10 years old without a reseal. Also call if you’re planning a driveway rebuild; an assessment of the base and drainage now saves a second rebuild 5 years down the road. Groundwork Construction Co. of San Francisco offers free estimates in San Francisco. Call (866) 320-2646 and we’ll schedule a visit, walk the driveway with you, and give you a written line-item quote with no surprises. If your driveway maintenance happens alongside a bigger site scope like a new fence or outbuilding, Fence Installation in San Francisco covers the property-line improvements we handle in the same visit.
Frequently Asked Questions
Every 3 years if you live within a mile of the coast (Sunset, Richmond, Outer Parkside, Excelsior), and every 4-5 years in inland neighborhoods like Noe Valley or Glen Park. Salt air and fog break down sealers faster than dry heat does. Use penetrating siloxane or breathable acrylic on coastal driveways; film-forming acrylic sealers peel in marine environments. For an exact recommendation on your driveway, call (866) 320-2646; estimates are free.
Two reasons: your driveway is on a grade above 10% and the joint sand is washing out during winter rain, or the sand wasn’t compacted after the last refill so it never locked in place. San Francisco’s clay soils also shift seasonally, opening the joints wider each cycle. Polymeric sand plus a plate compactor pass after every refill is the right fix. Call (866) 320-2646 for a free assessment if the joints are opening more than they should.
Minor settling in the first 18 months after installation is normal as the base compacts. Settling that appears later, is concentrated in one area, or comes with retaining wall movement is not normal. San Francisco’s clay soils can explain some seasonal movement, but anything more than 1/2 inch of dip in an established driveway is worth a professional look. Call (866) 320-2646 for a free estimate on an inspection.
Joint sand refill with polymeric sand typically runs $400-$1,200 depending on driveway size and slope. A full reseal is usually $600-$1,800, more on coastal properties where the sealer must be marine-rated. Drainage improvements range from $500 for a channel drain to $4,000+ for a French drain system on a hillside lot. For a written line-item quote on your specific driveway, call (866) 320-2646; estimates are free.
Yes, but carefully. Use a fan-tip nozzle on low-to-medium pressure (under 2,000 PSI) and never aim directly at the joints, which blows out the sand. On coastal San Francisco driveways with salt buildup, a low-pressure wash plus a stiff brush does more good than high pressure. If your pavers are 10+ years old and joints are already compromised, pressure washing does more damage than good; call (866) 320-2646 for an assessment before you start.
You need a drainage solution at the source, not a mop-up. A channel drain across the driveway apron catches water before it reaches the garage door threshold, and it’s the right fix for most sloped San Francisco driveways. Call (866) 320-2646 and we’ll walk the driveway with you, look at where water is coming from, and quote the drain in writing.
All work performed by Groundwork Construction Co. of San Francisco is covered under the 730-Day Done Right Promise. If anything we install or repair fails within that window, we make it right. That covers driveway installs, paver replacement, drainage work, and retaining wall repair we’ve performed. Call (866) 320-2646 to schedule a free estimate and get the details in writing.
The Bottom Line
San Francisco driveways and pavers fail here for reasons that have nothing to do with product quality. Expansive clay, salt air, fog, and steep grades put more stress on a paver driveway than most of California sees. The maintenance schedule that works is the one built around this specific climate: fall joint-sand refill before the rains, spring inspection after them, reseal at 3 years on the coast, and drainage designed before pavers are installed. If you’re catching problems early, most of this is $400-$1,800 of seasonal upkeep. If you’re catching them late, it’s a rebuild. Start with the seasonal checklist above and call Groundwork Construction Co. of San Francisco home when you want a professional pair of eyes on it. And if a bigger remodel is on your short list, the same team handles it from foundation to finish line.
Call (866) 320-2646 to schedule your free estimate. A live person answers 24/7, pricing is upfront with no surprises, and every install is backed by the 730-Day Done Right Promise.
Written by the team at Groundwork Construction Co. of San Francisco.