
Last updated November 17, 2026
 Windows & doors
 Kitchen remodeling
 Bathroom remodeling
 Home additions & ADU
 Roofing
 Driveway & pavers
 Fence
Free written scope consultation - allowances, timeline, and change-order rules on paper before a single trade is scheduled
DIY vs Professional Windows & Doors: What’s Safe to Do Yourself
Installing a pre-hung interior door yourself is a reasonable weekend project. Installing a new exterior window opening, even with a kit, without proper flashing integration can result in wall rot that isn’t visible for two years and costs more than the window itself to fix. That gap between “looks simple” and “is actually safe” is the whole story of window and door work. In our experience across San Francisco homes, the jobs that fail aren’t the ones that looked hard. They’re the ones the homeowner thought were easy. This guide draws a clear line: which tasks a careful homeowner can genuinely handle, which ones need professional hands, and how to tell the difference before you pick up a pry bar.
Quick Answer
Weatherstripping, hardware replacement, and interior pre-hung door installation are genuinely DIY-friendly for a careful homeowner. Direct-set window swaps in existing openings are doable with real knowledge of flashing and sealing. New openings, structural header changes, and any exterior window that requires cutting into the wall or reframing are professional-only work. The dividing line isn’t how hard the job looks. It’s airtightness and water management. Get those wrong and you won’t know for two years.
Styles & brands we work with
- Kitchen remodeling
- Bathroom remodeling
- Home additions & ADU
- Roofing
- Windows & doors
- Driveway & pavers
- Fence
Table of Contents
- The Real Line: Why Airtightness and Water Management Decide Everything
- Task-by-Task Breakdown: What’s Safe and What Isn’t
- San Francisco Permit Requirements for Window and Door Work
- The Water Management Knowledge Gap
- How to Evaluate a “Window-in-a-Day” Company
- What You Can Legitimately Do to Reduce Professional Labor Costs
- Common Mistakes to Avoid
- When to Call a Professional
- Frequently Asked Questions
The Real Line: Why Airtightness and Water Management Decide Everything
Most homeowners judge window and door work by how it looks when it’s done. That’s the wrong test, and it’s why so many DIY installs look fine on day one and fail by year three. The test that actually matters is whether the assembly keeps air and water out of the wall cavity, and neither of those failures shows up on the surface.
Water is the bigger of the two. A window that leaks a teaspoon per storm into the sheathing behind it doesn’t announce itself. The paint stays put. The interior drywall stays dry for a while. But in a San Francisco home built before 1950, which describes most of the city, the wall assembly behind the siding is often old-growth fir sheathing or diagonal board, and it doesn’t tolerate sustained moisture. We’ve opened walls in the Sunset and the Richmond where a window was replaced four or five years earlier and the sheathing around the rough opening had gone soft and stained. The window itself was still perfectly good. The installation wasn’t.
Airtightness is the quieter problem. A direct-set window that isn’t shimmed and foam-sealed correctly leaks conditioned air around the perimeter all year. In San Francisco’s fog belt neighborhoods, that means condensation on the interior glass edge and a slow buildup of moisture at the sill. It also means your heating bill creeps up and you can never quite figure out why.
Here’s the practical takeaway. Before you decide whether a task is DIY-friendly, ask two questions: Does this task touch the water barrier or the air barrier? And if I get it slightly wrong, will I know within a week? If the answer to the first is yes and the second is no, hand it to someone who does it every day.
Task-by-Task Breakdown: What’s Safe and What Isn’t
The cleanest way to think about this is by task, not by product. The same window can be a manageable DIY job or a professional-only job depending on whether you’re setting it into an existing opening or cutting a new one. Here’s how the tasks fall out.
Genuinely DIY-Friendly
- Weatherstripping replacement. Adhesive-backed or kerf-mounted weatherstrip on doors and operable windows is a low-risk, high-payoff job. In San Francisco, fog-season drafts around old door frames are the number-one air-infiltration complaint we hear.
- Hardware replacement. Handles, locksets, hinges, door closers, and window latches are all bolt-off, bolt-on. No structural or water-barrier implications.
- Interior pre-hung door installation. This is real carpentry, but it’s forgiving. Setting a pre-hung slab into an existing frame, shimming it plumb, and casing it out is a good weekend project for someone with a level, a shim pack, and patience. Mistakes are cosmetic and reversible.
- Interior trim finishing. If a professional installs the window or door, you can finish the interior casing, caulk, fill, and paint yourself and save a meaningful chunk of labor.
- Old window removal and site prep. Pulling the old window, protecting the floor, and having the opening clean and ready when a crew arrives saves time and money without touching the technical work.
Proceed With Real Knowledge (Direct-Set Window Swaps)
Replacing a window in an existing opening without changing the opening size is the gray zone. It’s done by plenty of careful homeowners and it can be done well. But it requires that you understand sill pans, flashing tape lapping sequence, and how to seal the rough opening without trapping water behind the window. If you don’t already know what “shingle-lap the flashing” means, this isn’t the project to learn it on. See the water management section below for what a correct sequence actually looks like.
Professional Only
- New openings and window additions. Cutting a new hole in a structural wall requires understanding load paths and, in almost every San Francisco case, a permit and inspection.
- Structural header changes. Widening a doorway or changing a window opening almost always means reframing the header. This is structural work and it’s not a DIY category.
- Exterior door replacement where the rough opening changes. A same-size exterior door swap is borderline. A new rough opening is not.
- Anything on the third floor or above with a ladder-only approach. San Francisco’s tall, narrow Victorian and Edwardian facades put a lot of windows well above a safe ladder height. Fall risk is real.
San Francisco Permit Requirements for Window and Door Work
San Francisco takes permits seriously, and window work is no exception. The city’s Department of Building Inspection generally requires a permit when you replace a window and the replacement involves any change to the rough opening, the framing, or the exterior envelope, and when you change the window type or size in a way that affects egress or structural elements. A like-for-like replacement that keeps the same opening size and doesn’t alter the wall assembly is a narrower question, and it’s the one homeowners most often get wrong by assuming no permit means no inspection. In almost every case, the safer read is to check with the department or a licensed contractor before you start. Getting this wrong is expensive.
Why it matters for resale: unpermitted window work gets discovered during a home sale, and it happens more often than people think. A buyer’s inspector flags windows with no permit record, the seller has to either retroactively permit the work or credit the buyer, and the retroactive permitting process can require opening the wall to verify flashing and framing. On a San Francisco property where the facade is a character-defining feature, that’s a slow, costly path.
What Actually Triggers a Permit
- Any change to the size or location of the opening.
- Any structural reframing, including new headers.
- Replacement that changes the exterior envelope or the window type (for example, converting to a different operation type).
- Work on a property with historic or character-defining status that falls under preservation review.
This is one more reason the DIY-vs-professional question is really about exposure. A permitted job gets inspected, and inspection is a third-party check on the water management that a homeowner can’t self-verify. When we pull permits on window and door projects across San Francisco, the inspection is part of the value, not a nuisance. For broader envelope and structure work, the same logic applies to home additions and ADU projects in San Francisco, where permits are non-negotiable.
The Water Management Knowledge Gap
Most DIY window installs don’t fail at the window. They fail at the flashing, and they fail because flashing is the step that gets skipped when the homeowner is tired and the window looks fine sitting in the opening. Here’s what a correct flashing sequence actually involves on a typical San Francisco direct-set replacement, in order.
- Sill pan and sill flashing first. The sill pan goes in before the window, set to drain outward, with the ends turned up so water can’t run sideways into the wall.
- Window set and shimmed plumb, level, and square. The shims go at the points the manufacturer specifies, not wherever the gap is biggest.
- Flashing tape applied shingle-lap style. Each layer overlaps the one below it so water always travels down and out. The bottom of the rough opening is the last thing to get covered, not the first.
- Jamb flashing over the side flanges, then the head flashing over the top, lapping over the sides. Water runs downhill, so the top flashing overlaps the side flashing, not the other way around.
- Air seal on the interior side. Low-expansion foam or backer and sealant around the perimeter, done from the inside, without overfilling and bowing the frame.
- Exterior cladding and sealant integrated with the flashing, not over it. Sealant is a secondary defense, not the primary one.
The sequence matters because every layer has to shed water onto the layer below. Get the order wrong and the window still sits there looking installed. Water gets behind the flashing instead of over it, and in a San Francisco winter where fog sits on the wall for days, that damp space never fully dries. That’s how you end up with rot that costs more than the window to repair. We’ve seen it in Noe Valley and Bernal Heights as often as anywhere, usually on older homes where the original wall was never designed with a modern drainage plane to begin with.
How to Evaluate a “Window-in-a-Day” Company
Speed isn’t the enemy. Skipping the slow steps is. A crew that does this work every day can absolutely set several windows in a day and do it correctly. What separates a good crew from a hasty one is whether they slow down for the flashing and the air seal. Here are the questions that reveal the difference, and they work whether you’re hiring us or anyone else.
- “Walk me through your flashing sequence at the sill.” A good answer mentions a sill pan or sill flashing going in first, and shingle-lap orientation. A vague answer is a warning.
- “How do you air-seal from the interior?” You want a specific answer about foam or backer and sealant, done from the inside, not just “we caulk it.”
- “Will you pull the permit?” A reputable contractor on work that requires a permit will handle it and show you the inspection record. A company that dodges the permit question is telling you something.
- “What’s your workmanship warranty, and is it in writing?” Ask for the number. Ours is the 730-Day Done Right Promise, which is one of the longest workmanship guarantees in residential construction. If a company won’t put a duration in writing, that’s your answer.
What a hasty install looks like before the wall closes up: flashing tape that’s wrinkled or not pressed down at the corners, sealant smeared over the flashing instead of integrated with it, a window that’s out of square by a noticeable amount, and shims in the wrong spots or missing entirely. If you can be on site for the install, watch those four things during the flashing stage. That’s the moment that decides the next fifteen years. For a broader look at envelope and material decisions, see our fence installation services in San Francisco, which run into some of the same water-management principles at the property line.
What You Can Legitimately Do to Reduce Professional Labor Costs
The honest answer to “how do I save money on window and door work” isn’t “do the dangerous part yourself.” It’s “do the parts that don’t carry technical risk, and let a professional do the parts that do.” These are the levers that actually move the number without putting your wall at risk.
- Handle interior trim and paint yourself. Interior casing, caulk, fill, and paint are the most labor-heavy cosmetic parts of a window job. Doing them yourself after the install is finished saves real money and carries no risk to the envelope.
- Remove the old windows and doors before the crew arrives. Pulling and disposing of the old units is straightforward work if you’re careful, and it shaves labor hours off the job.
- Clear the work area and protect finishes. Moving furniture, covering floors, and having the room ready means the crew spends their time on the window instead of the furniture.
- Choose a like-for-like replacement wherever it makes sense. Keeping the same opening size avoids reframing and the structural work that drives cost up. This is true across material categories; the size decision matters as much as the brand, whether you’re looking at Andersen or Pella windows or a James Hardie siding repair around the opening.
- Get a written line-item estimate before work starts. Upfront pricing with the line items spelled out lets you see exactly what labor you’re paying for and what you could reasonably take on yourself. That’s the standard we hold, and every Groundwork estimate is written that way.
Note what’s not on the list. Nothing on it involves flashing, air sealing, structural work, or anything above a safe ladder height. Those aren’t the places to save money. They’re the places to spend it once and be done. The same principle applies to hardscape work, where we see homeowners take on tasks that look easy and turn out not to be; our driveway and pavers work in San Francisco is a good example of tasks where prep and drainage carry the outcome.
Common Mistakes to Avoid
- Skipping the sill pan because “the window has a flange.” It doesn’t replace a sill pan. Water that gets behind the flange has to have somewhere to go, and without a pan it goes into the sheathing. In San Francisco’s fog belt, that’s a two-year path to wall rot.
- Running flashing tape wrong-way up. Tape has to shingle-lap, meaning each layer overlaps the one below it. If the bottom of the rough opening gets covered before the sides, water has nowhere to shed and just collects at the sill.
- Assuming a permit isn’t required because the window is the same size. This is the most common and most expensive assumption we run into in San Francisco. Check with the department or a licensed contractor before you start, not after.
- Overfilling the air seal and bowing the frame. Low-expansion foam is what you want. Standard expanding foam can push a window frame out of square and open a gap along a different edge.
- Trying a third-floor or higher exterior window off a ladder. San Francisco’s narrow Victorian facades put a lot of windows well above a safe working height. Fall risk isn’t a minor concern; it’s the whole reason some of these jobs are professional-only.
- Caulking over bad flashing instead of integrating the barrier correctly. Sealant is an exterior secondary defense, not the water barrier. Caulk over the top of a bad flashing job just hides the problem for a season or two.
- Hiring a “window-in-a-day” company without asking for the warranty in writing. A crew that won’t state the duration of its workmanship coverage in writing is telling you how it feels about its own work. Ask for the number before you sign, and don’t accept “we stand behind our work” as an answer.
When to Call a Professional
The tasks that genuinely belong with a professional are the ones where a mistake is invisible and expensive: any new opening, any structural header change, any exterior window where flashing integration is involved, and anything above a safe ladder height. Add to that any job that requires a permit and an inspection, and any situation where the existing wall assembly is old enough that you can’t be sure what you’re flashing into. Those are the cases where spending a little more up front saves you a wall repair down the line. Groundwork Construction Co. of San Francisco offers free estimates in San Francisco, so you can see exactly what the job costs, line item by line item, before you decide. Call (866) 320-2646. Every project is backed by the 730-Day Done Right Promise, technicians are background-checked and arrive in uniform, and calls are answered by a live person around the clock.
Frequently Asked Questions
Sometimes, if you’re doing a direct-set replacement into an existing opening of the same size and you already understand sill pans, flashing tape lapping, and air sealing. Any new opening, any structural reframing, and any job that requires a permit and inspection belong with a licensed professional. When in doubt, call Groundwork Construction Co. of San Francisco at (866) 320-2646 for a free estimate.
In many cases, yes, especially when the replacement changes the rough opening, the framing, the window type, or the exterior envelope, or when the property has preservation review. A like-for-like replacement in the same opening is the narrower question, and the safest move is to confirm with the Department of Building Inspection or a licensed contractor before you start. Call (866) 320-2646 if you’d like us to walk through your project and confirm what’s required.
Most direct-set replacements of a few windows can be completed in a single visit, while larger jobs or jobs that involve reframing take longer. Most jobs we run are completed in a single visit when the openings are already the right size. Call (866) 320-2646 for a free estimate and a clearer timeline for your specific project.
Getting the flashing sequence wrong at the sill. Most DIY failures aren’t at the window; they’re at the water barrier behind it, and they don’t show up for a year or two, until the wall around the opening has started to soften. If you don’t already know how to shingle-lap flashing correctly, that part is worth paying for. Call (866) 320-2646 for a free estimate.
Generally not for a defect you introduced yourself, though the specifics depend on your policy. Water damage from a failed flashing job is often excluded when the cause is defective workmanship you performed. That’s one more reason the water-management tasks are the ones to hand off. Call (866) 320-2646 to talk through your options before you start.
Yes. Removing the old windows and doors, clearing the work area, and finishing the interior trim and paint after the install are all legitimate ways to reduce labor cost without touching the water barrier or the structure. Get a written line-item estimate first so you can see exactly which parts of the job you’re paying for. Groundwork Construction Co. of San Francisco provides free, no-hassle upfront pricing; call (866) 320-2646 to schedule yours.
The Bottom Line
The dividing line in window and door work isn’t how hard a task looks. It’s whether the task touches the water barrier or the air barrier, and whether a mistake will show up in time to fix it. Weatherstripping, hardware, interior pre-hung doors, and trim finishing are genuinely yours to do. Direct-set swaps in existing openings are doable with real knowledge of flashing and sealing. New openings, structural headers, and anything requiring a permit and inspection are professional-only. In San Francisco, where fog sits on the wall for days and Victorian facades put windows well above ladder height, the stakes are higher than they look. Call (866) 320-2646 for a free estimate and a written line-item quote, and get the water management done right the first time.
Written by the team at Groundwork Construction Co. of San Francisco.
See the difference
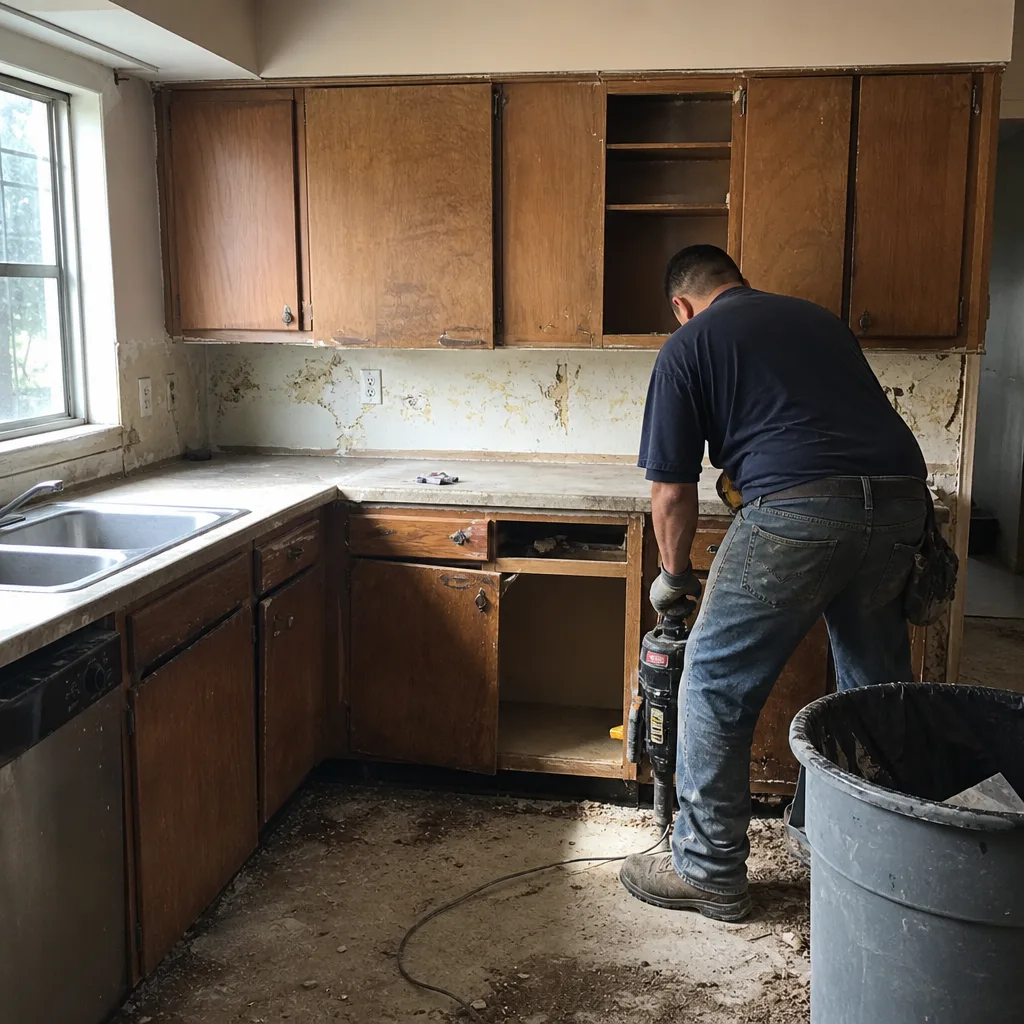 Before
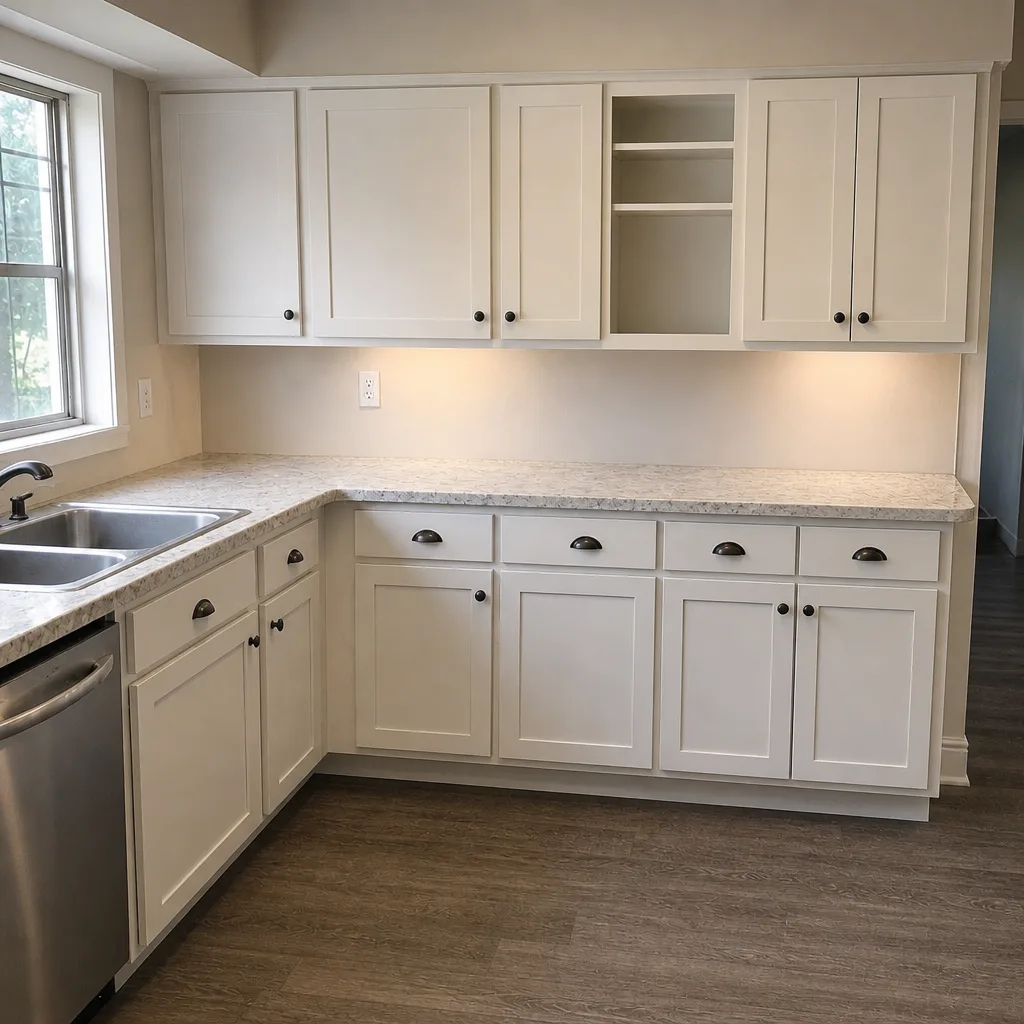 After
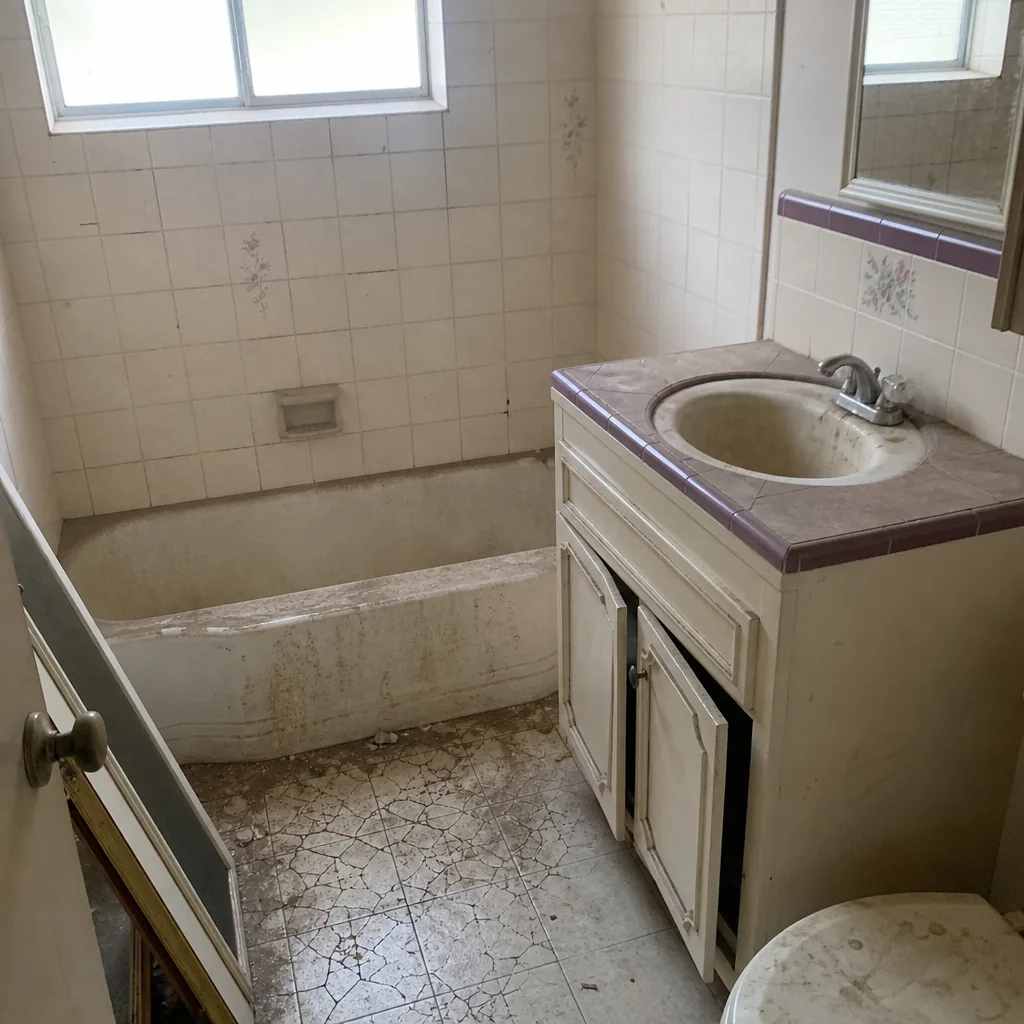 Before
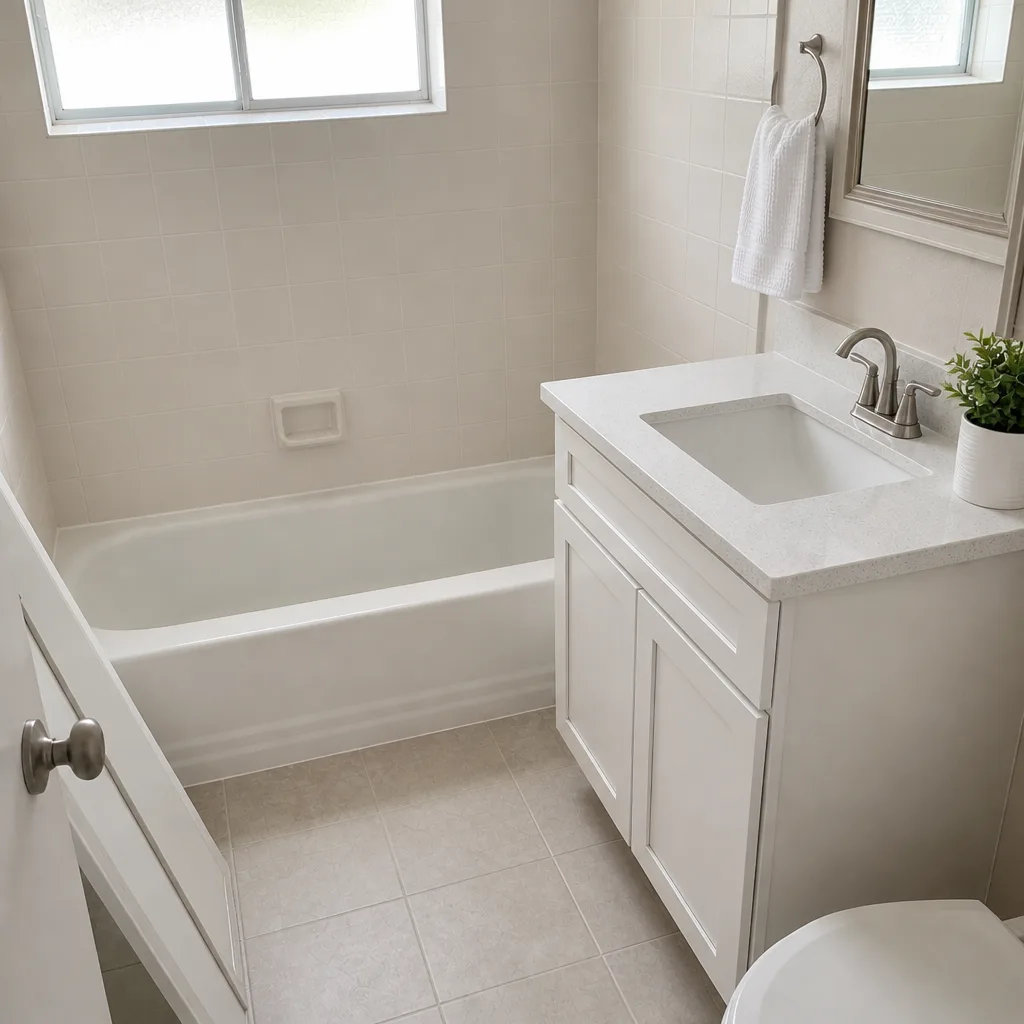 After
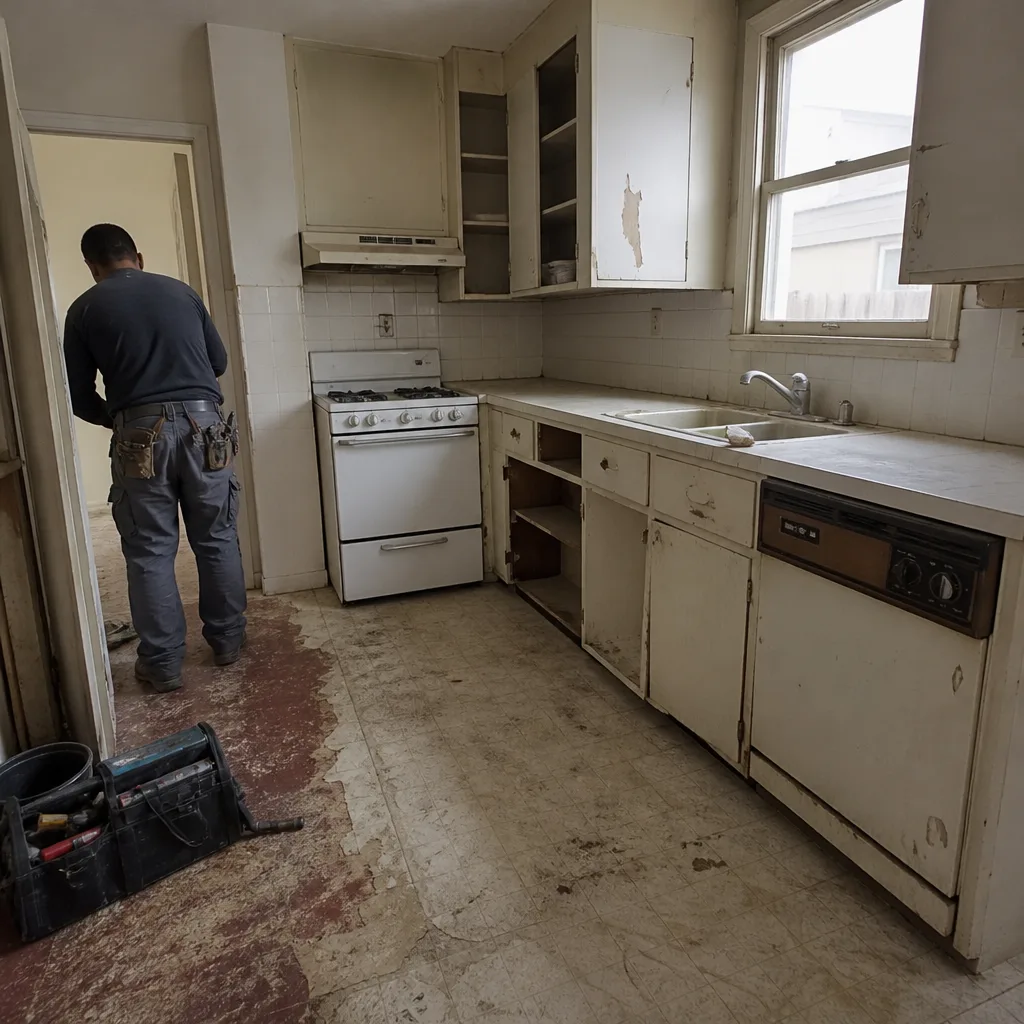 Before
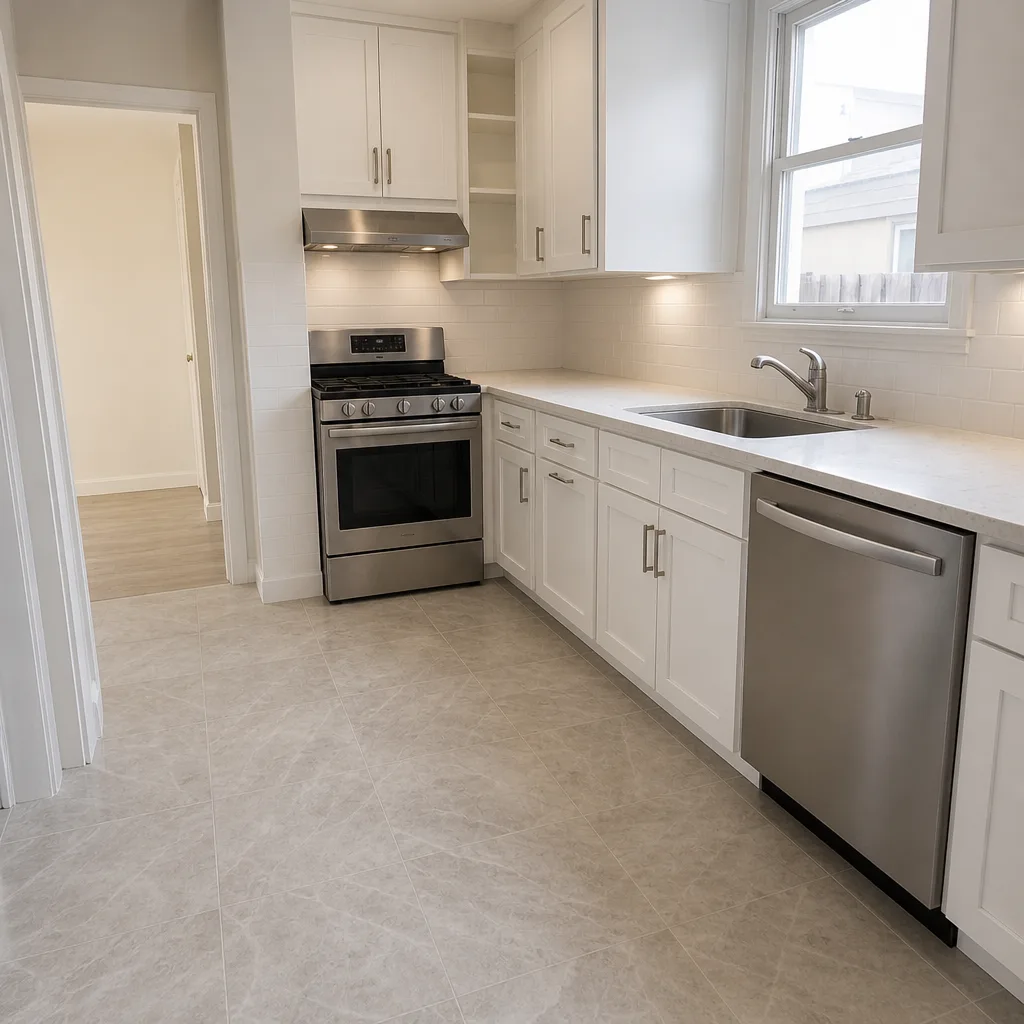 After